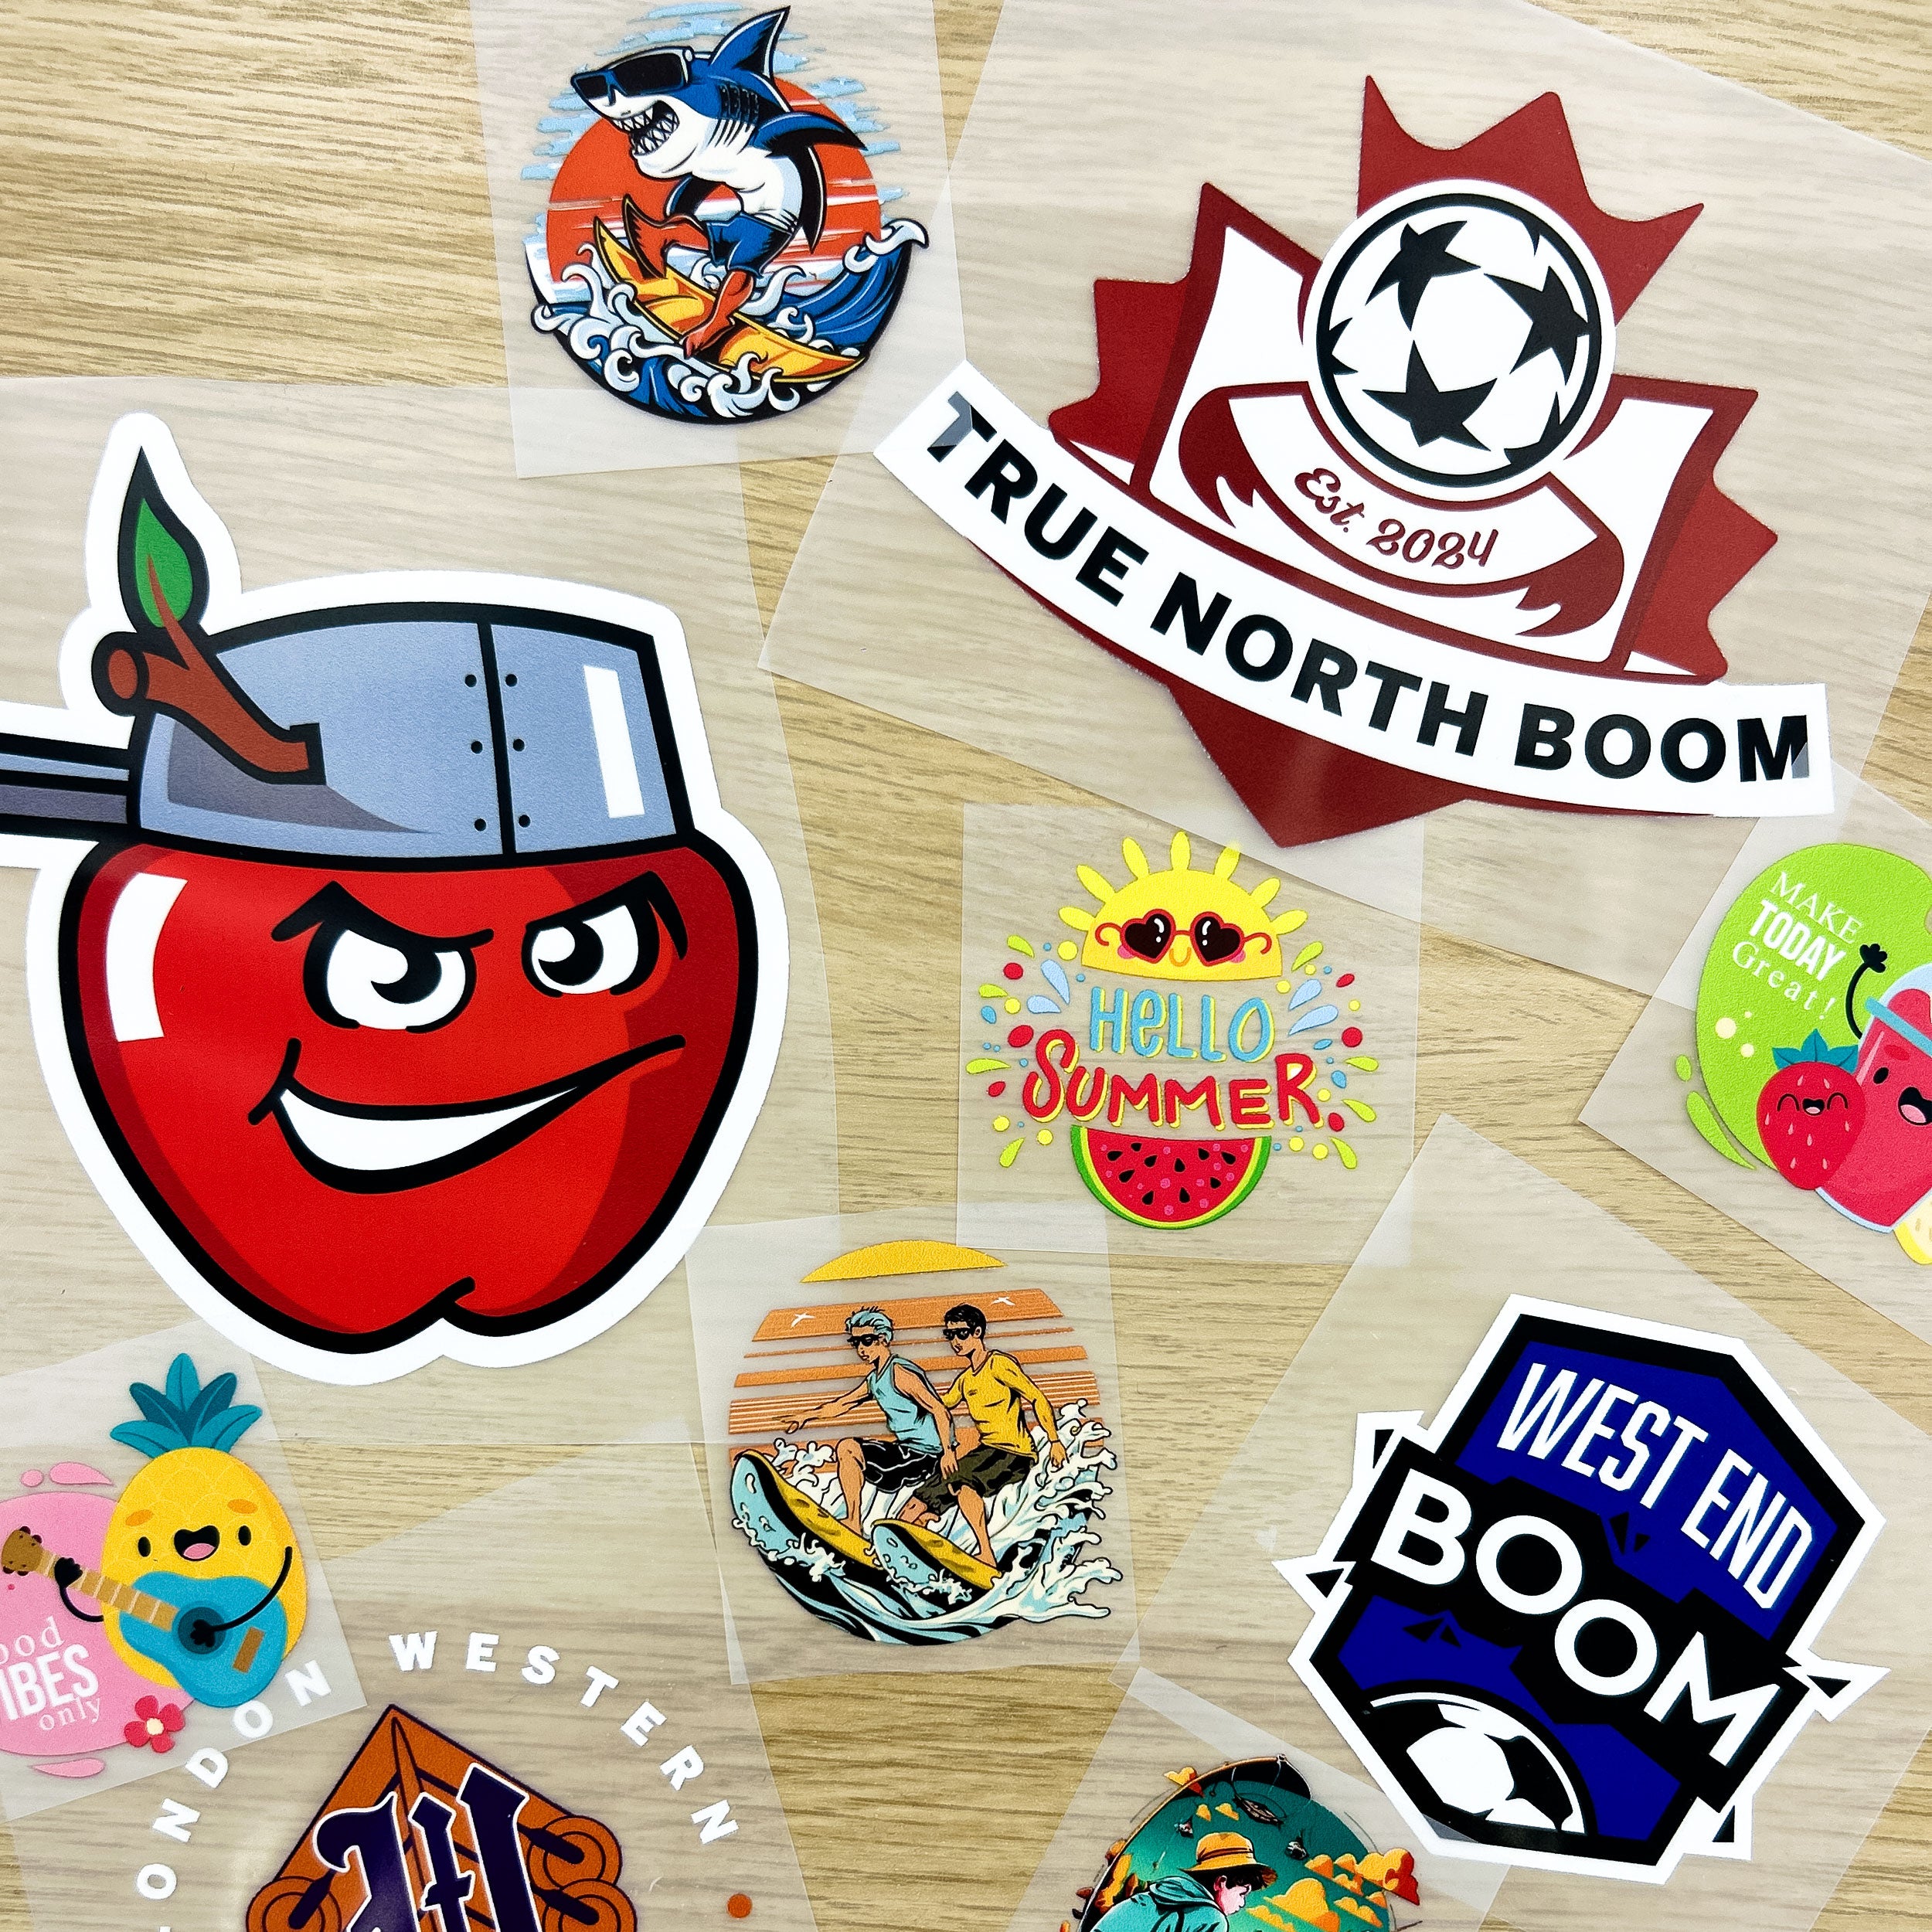
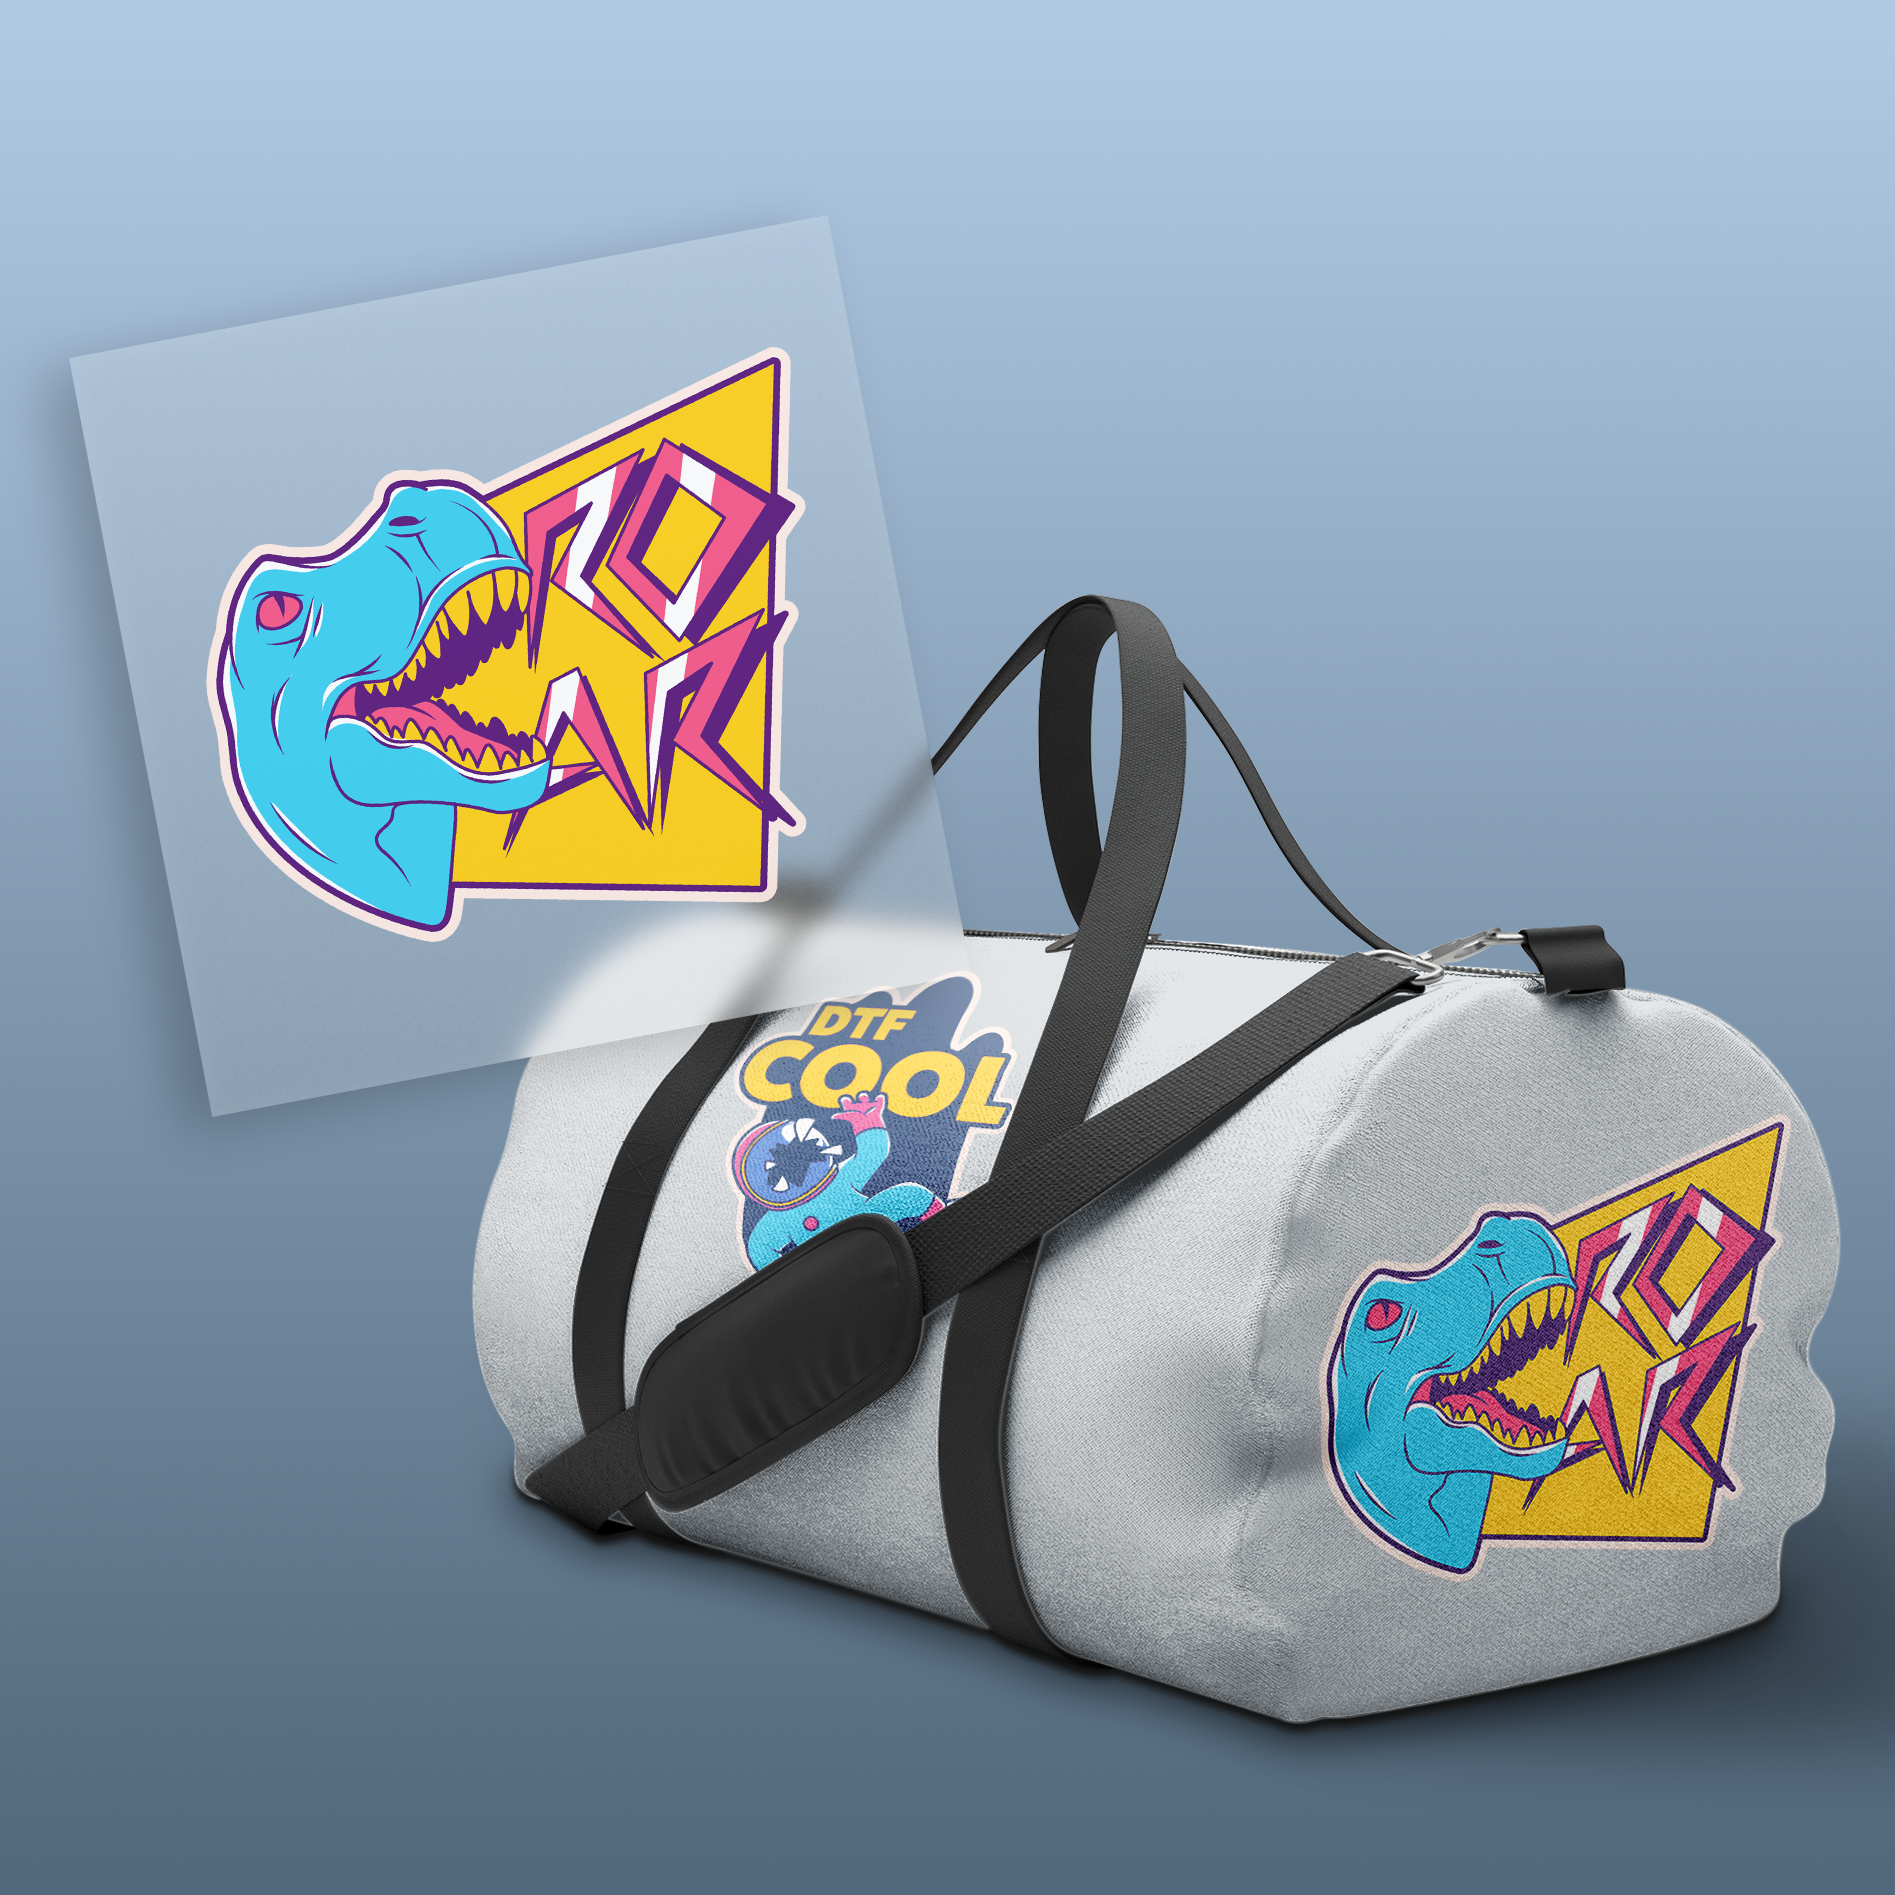
Textured Stickers
These stickers give a raised effect, are printed with UV ink, die cut into the shape of the artwork.
How to get best results
- Ensure your files are either in .AI, .PDF, .PNG, .EPS, .SVG, .TIF, or .PSD.
- A Minimum 300 dpi is recommended for printing. The Higher the dpi, the better color vibrance and detailing.
- Make sure there are no transparent pixels in the design.
- Please note that all files are printed as uploaded.
$0.00
Unit price
/
Unavailable
Couldn't load pickup availability
- File format accepted: .AI, .PDF, .PNG, .SVG, JPG, JPEG.
- Minimum 300 dpi. Higher dpi is for better color vibrancy and definition.
- Mention the size of a design file by width and height without the empty space around the design in the artboard.
- Ensure there are no transparent pixels in the design.
- All files are printed as uploaded.
- Your orders are ready within 48-72 hours.
- In case you need multiple orders shipped together at one shipping charge.
- Please place them within the same day before they are scheduled for shipment.
- We ship for free for orders over $250.
- No Hidden Fees, No Minimum Order
- If your artwork doesn't match the size asked to print. We will only go by the width of the artwork. No refunds will be offered for smaller prints. Extra charges applicable for bigger sizes than paid for.
- Exact color matching is not provided.
- No change would be made to any order 4 hours after placing it.
- Please read the artwork instructions properly before uploading.
- Click on the “Drag and Drop your Files” button to upload your design.
- Choose the size you want your artwork or proceed with the detected size.
- Select the quantity you need.
- Select add to cart to browse more and add more products/designs or select “Buy with Shop Pay” to place the order.
How to Apply Stickers
Step 1 - Prepare the Surface
- Clean the area where you plan to apply the sticker.
- Make sure it's free from dust, dirt, oil, or moisture.
- A lint-free cloth dampened with mild soap and water works well.
- Dry the surface thoroughly.
Step 2 - Peel the Sticker Carefully
- Gently peel the sticker from its backing, starting from one edge.
- Take care not to touch the adhesive side too much to avoid leaving fingerprints or reducing stickiness.
Step 3 – Position the Sticker
- Align and position the sticker over the target area.
- Hold it above the surface before making contact so you can adjust as needed for perfect placement.
Step 4 - Apply the Sticker
- Once satisfied with its position, press down lightly on one edge of the sticker.
- Gradually smooth it over the surface, moving from one side to the other.
- This helps prevent air bubbles from forming under the vinyl.
Step 5 - Smooth Out Bubbles
- Use a squeegee, credit card, or your fingers wrapped in a soft cloth to firmly press and smooth the sticker.
- Start from the center and work outward to push out any air bubbles.
Step 6 - Check the Edges
Press down on the edges of the sticker to make sure they are securely adhered, especially for intricate die-cut shapes.
Step 7 - Let It Set
- Allow the sticker adhesive to set for several hours.
- Avoid washing the area or exposing it to heavy moisture immediately after application for best durability.
Step 8 - Removal (if needed)
If you ever wish to remove the sticker, gently peel it off. Our vinyl is designed to come off cleanly without leaving sticky residue.