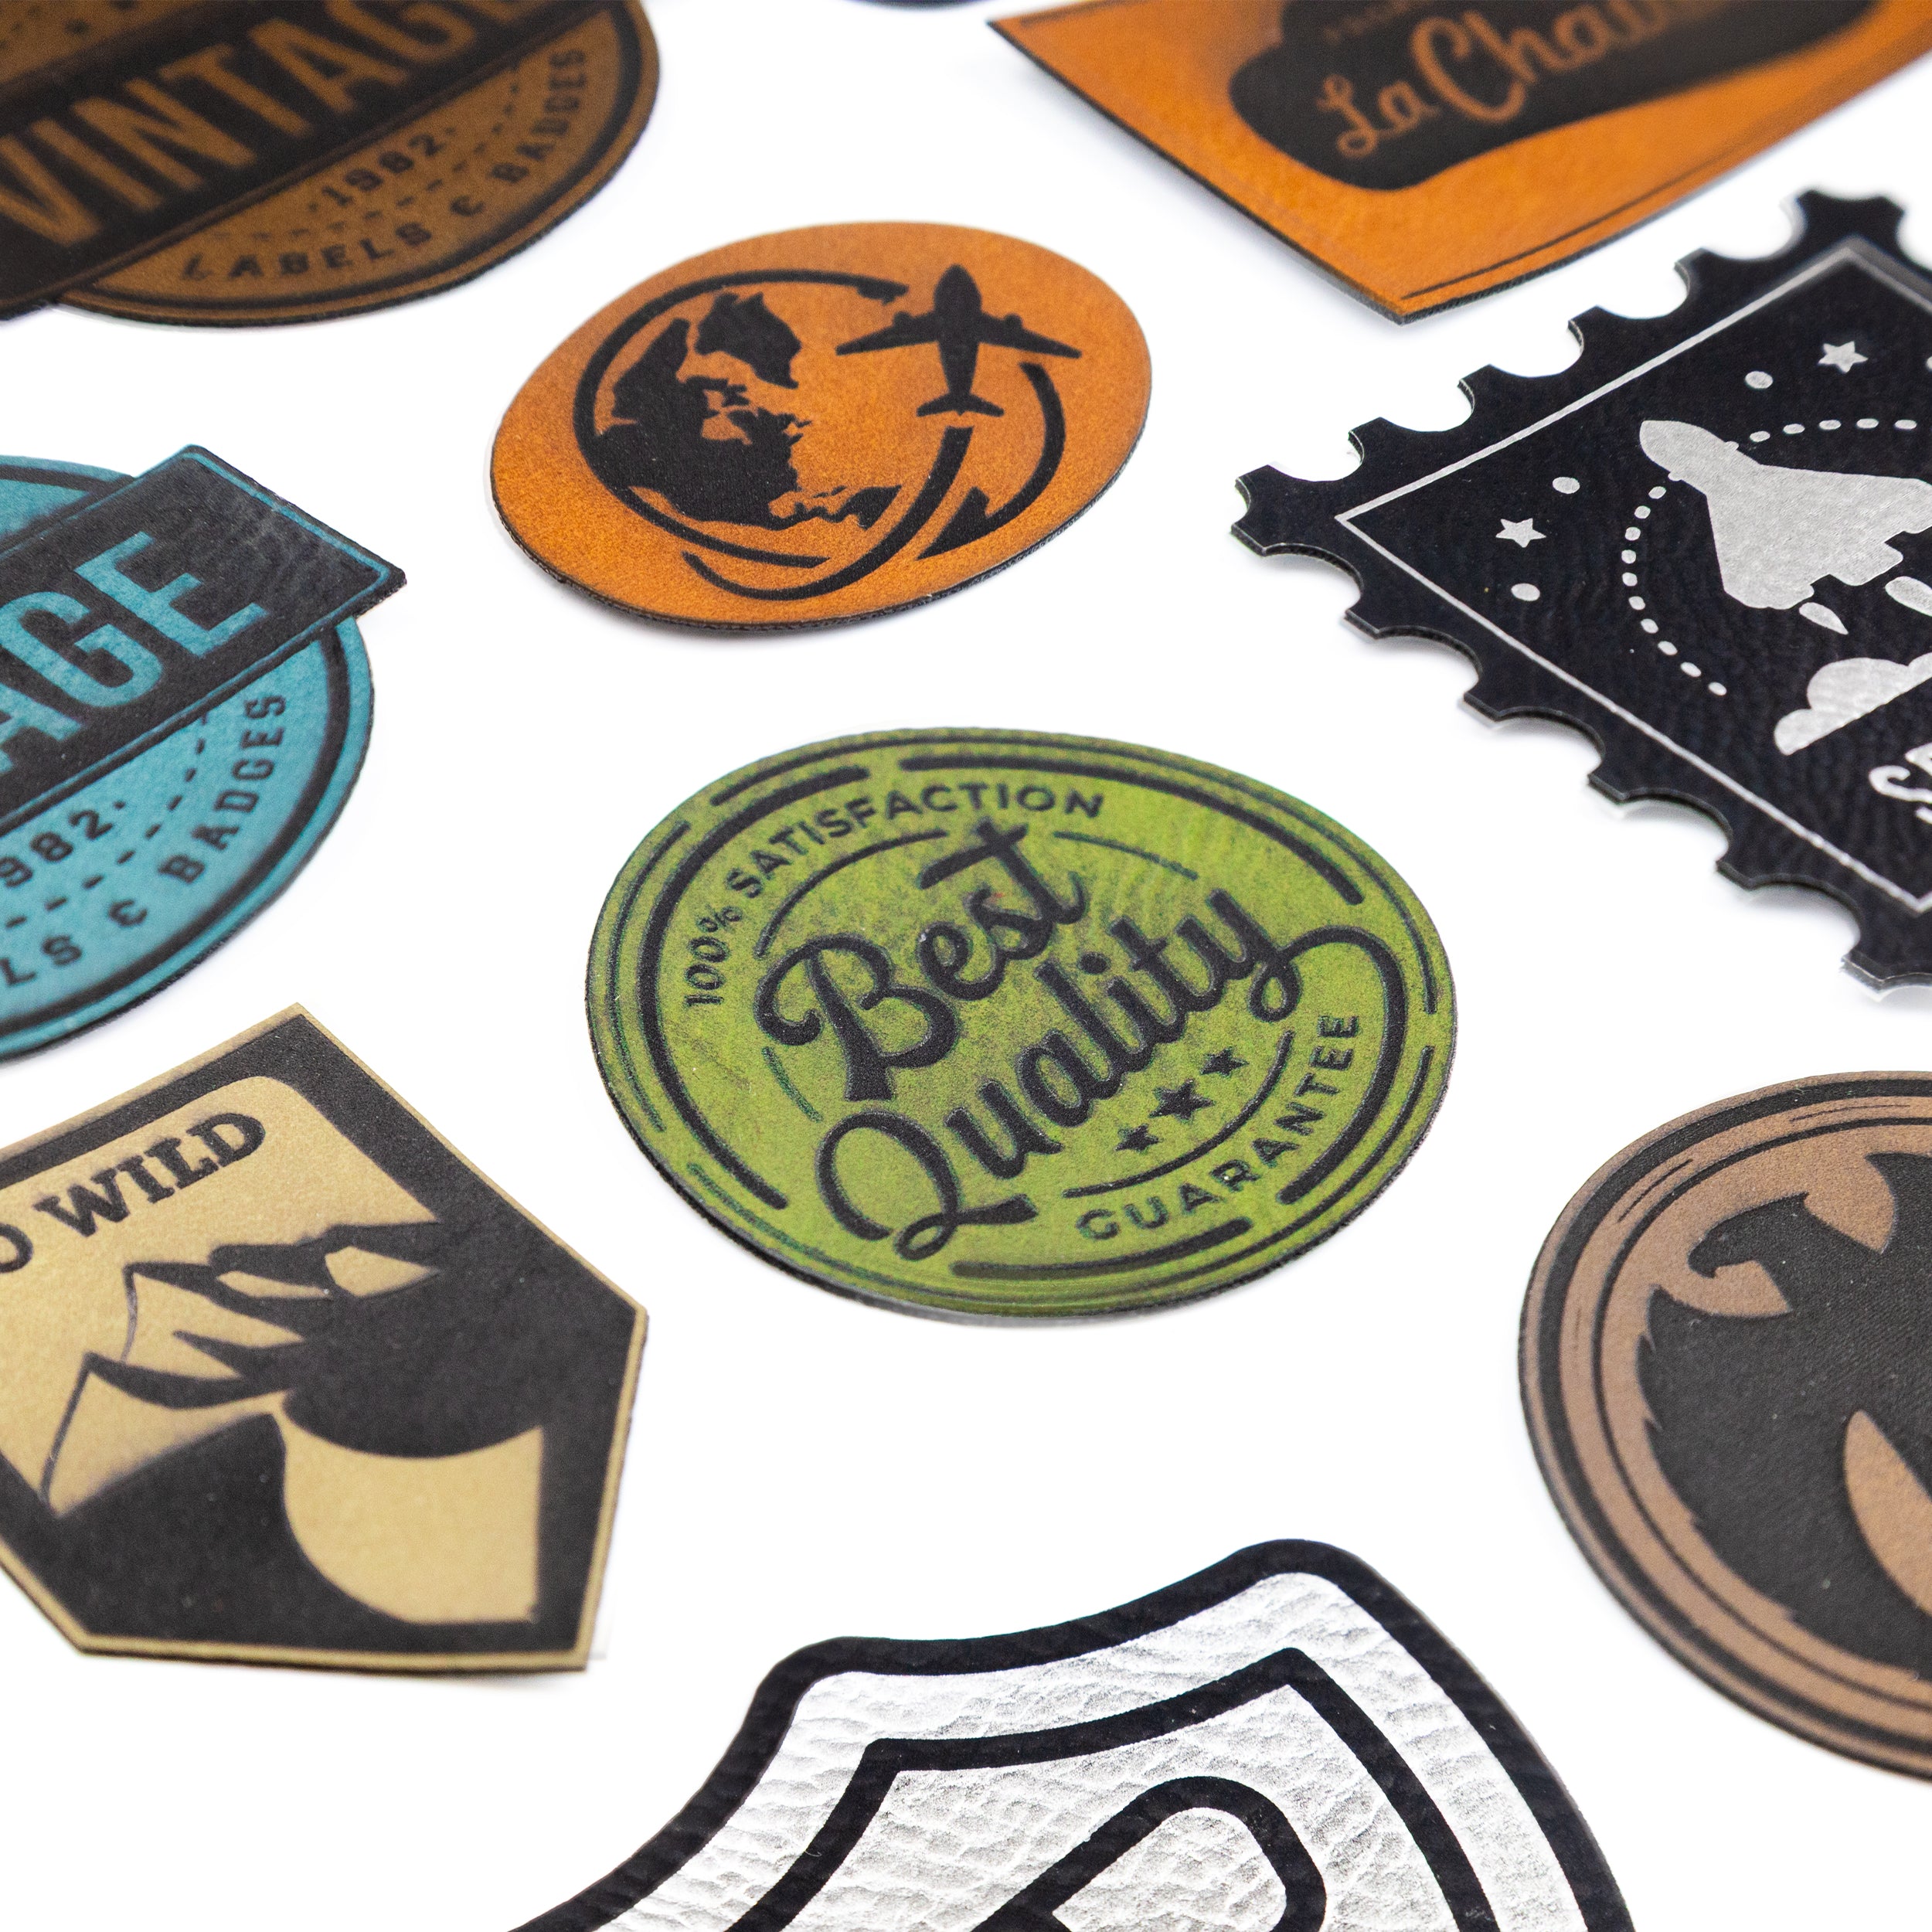
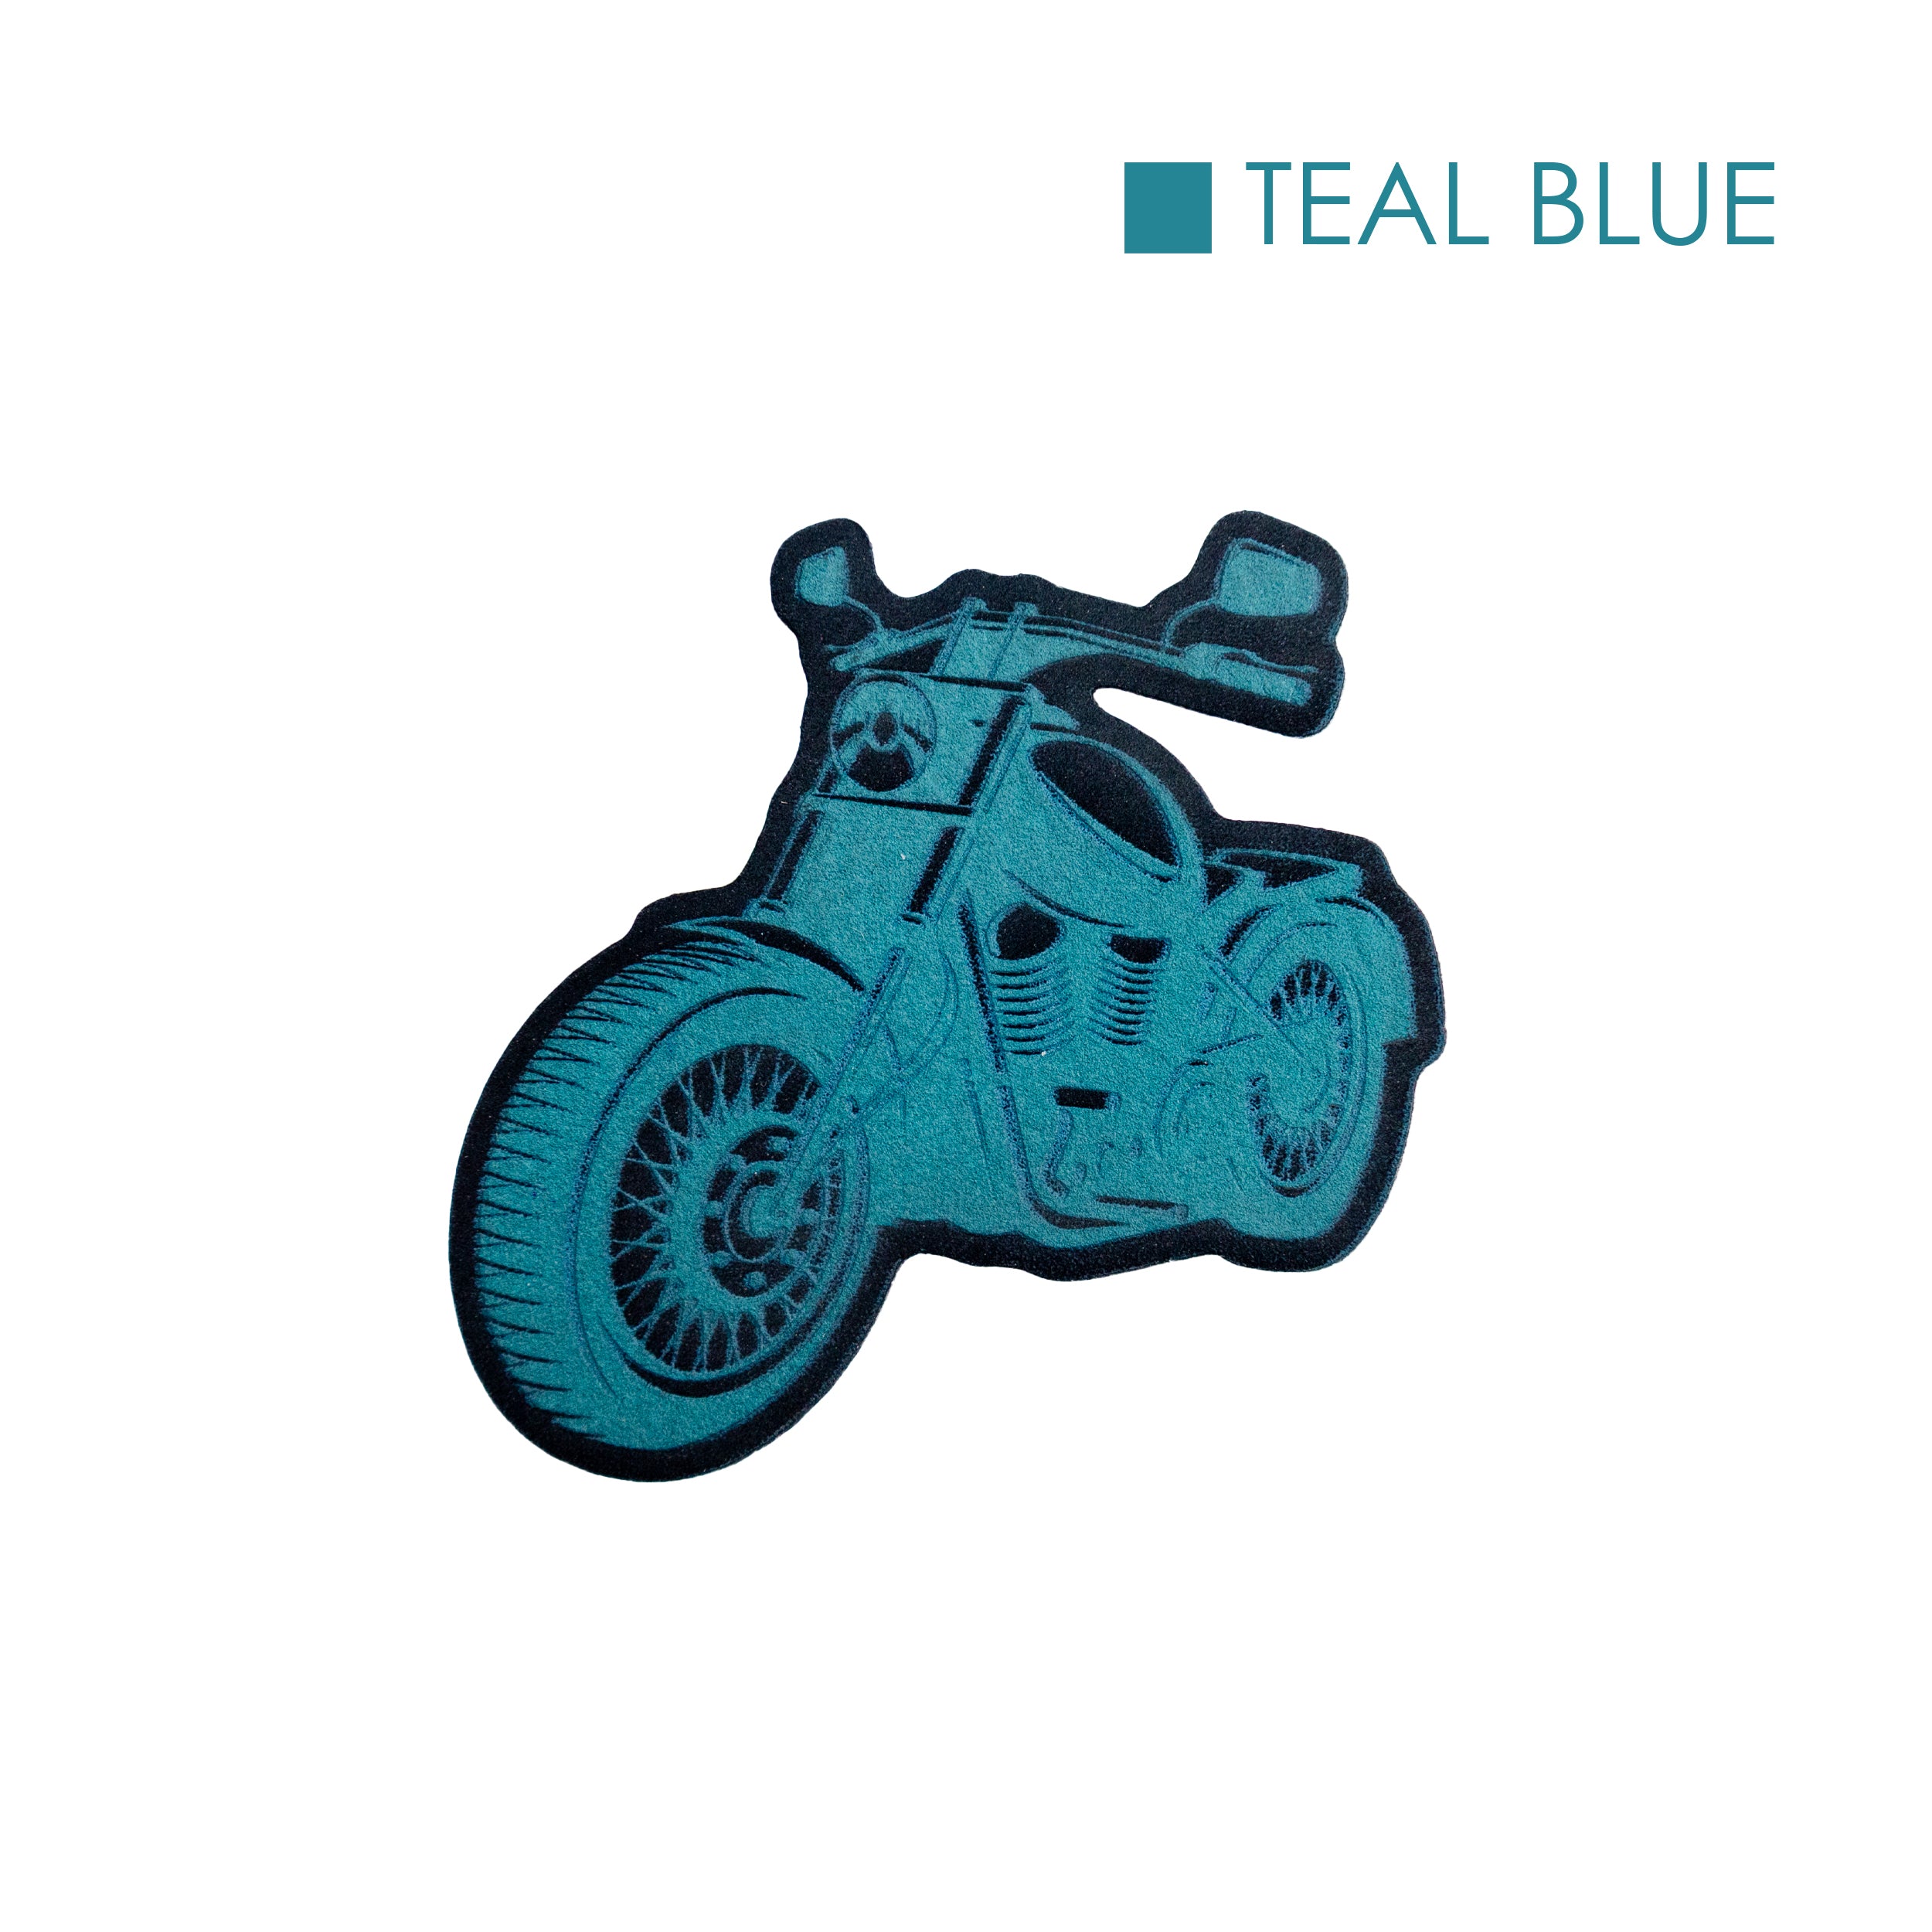
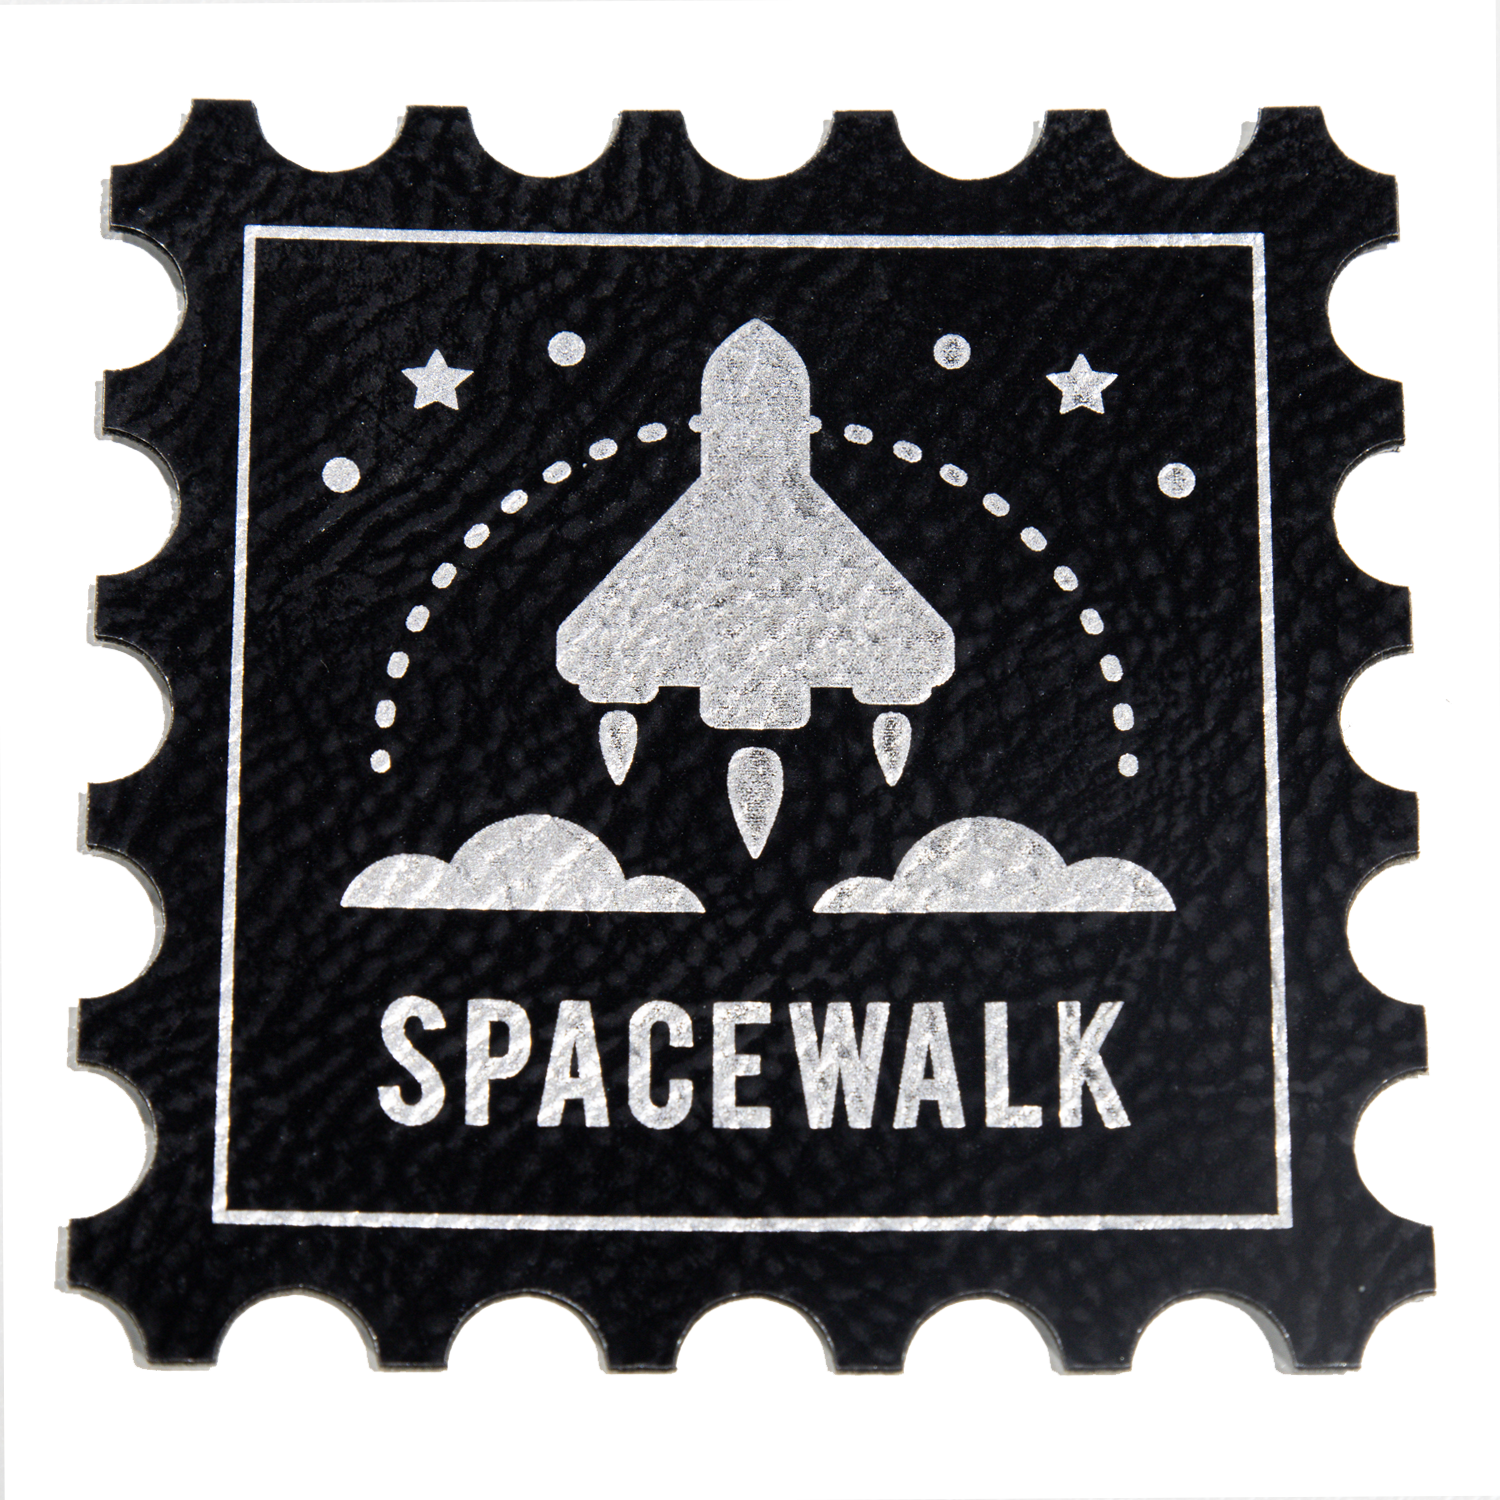
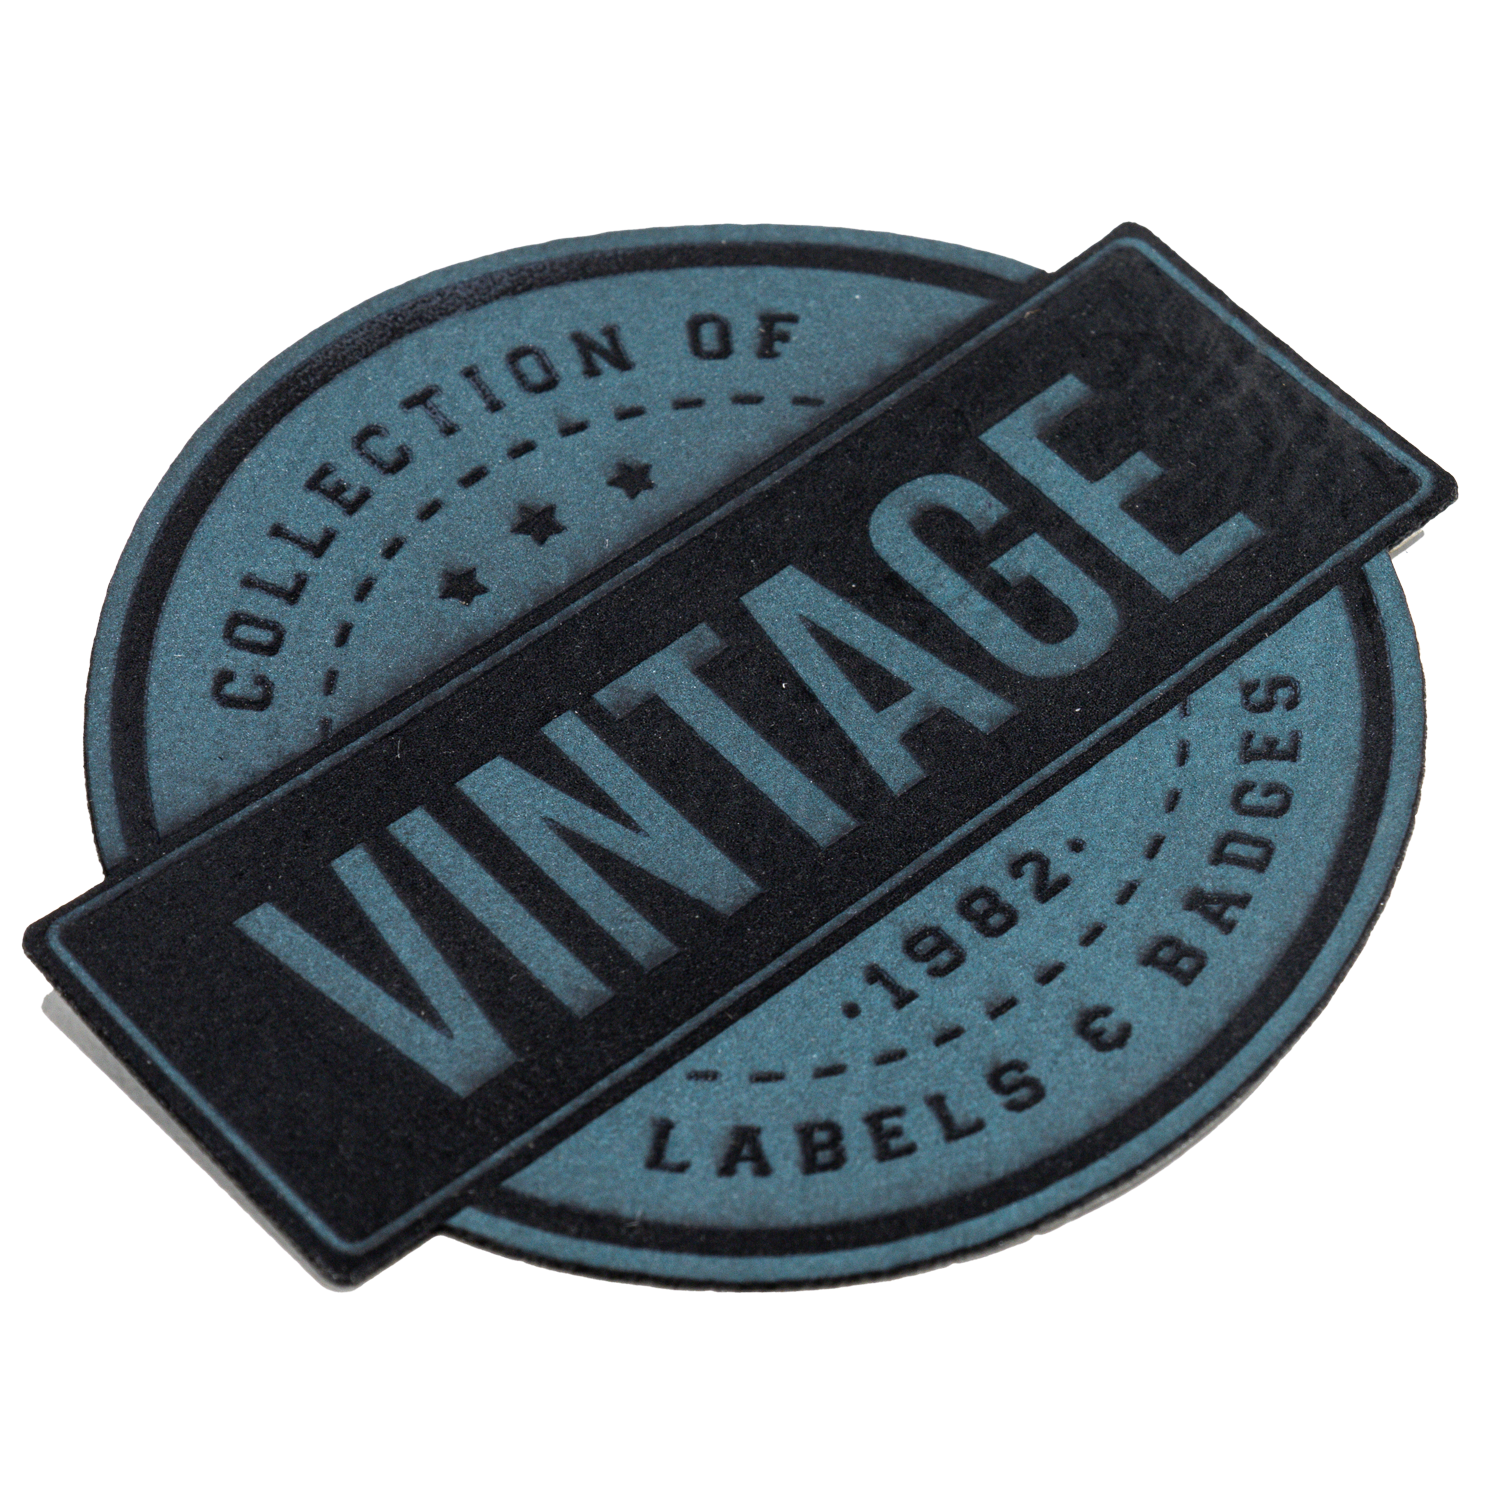
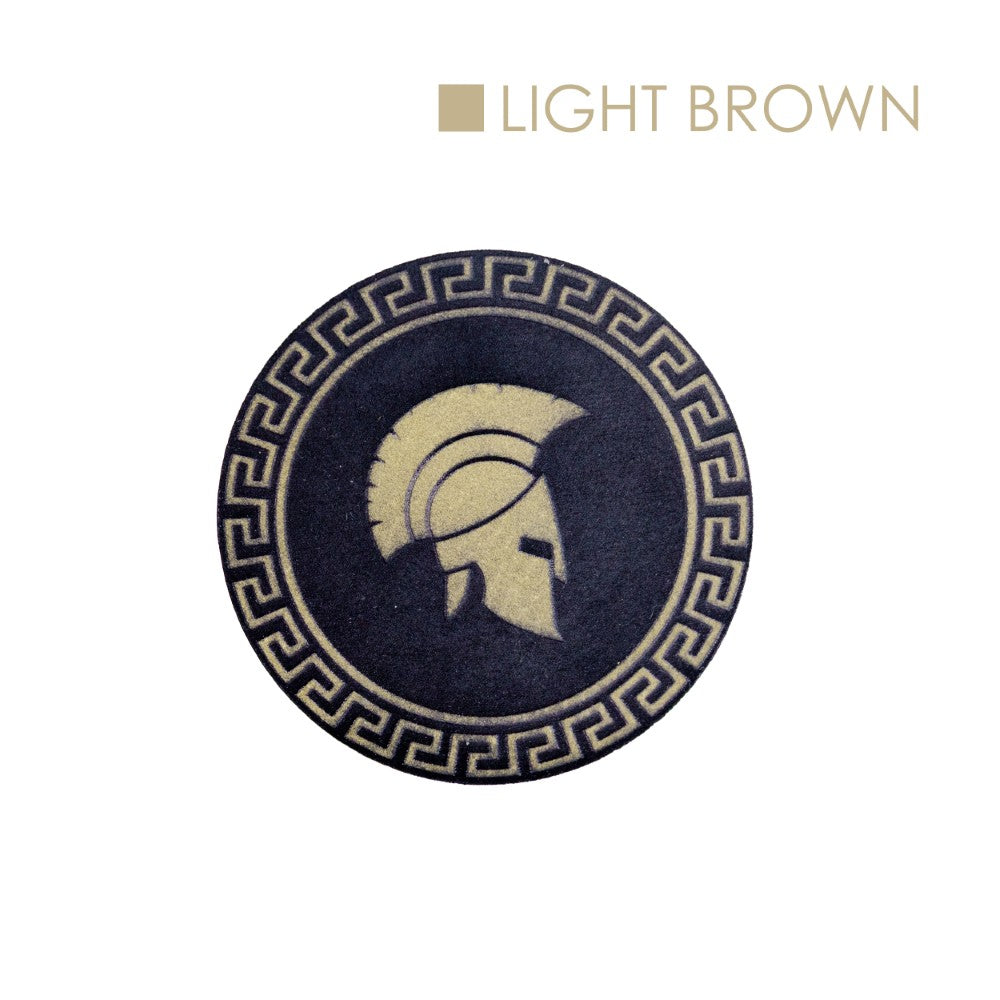
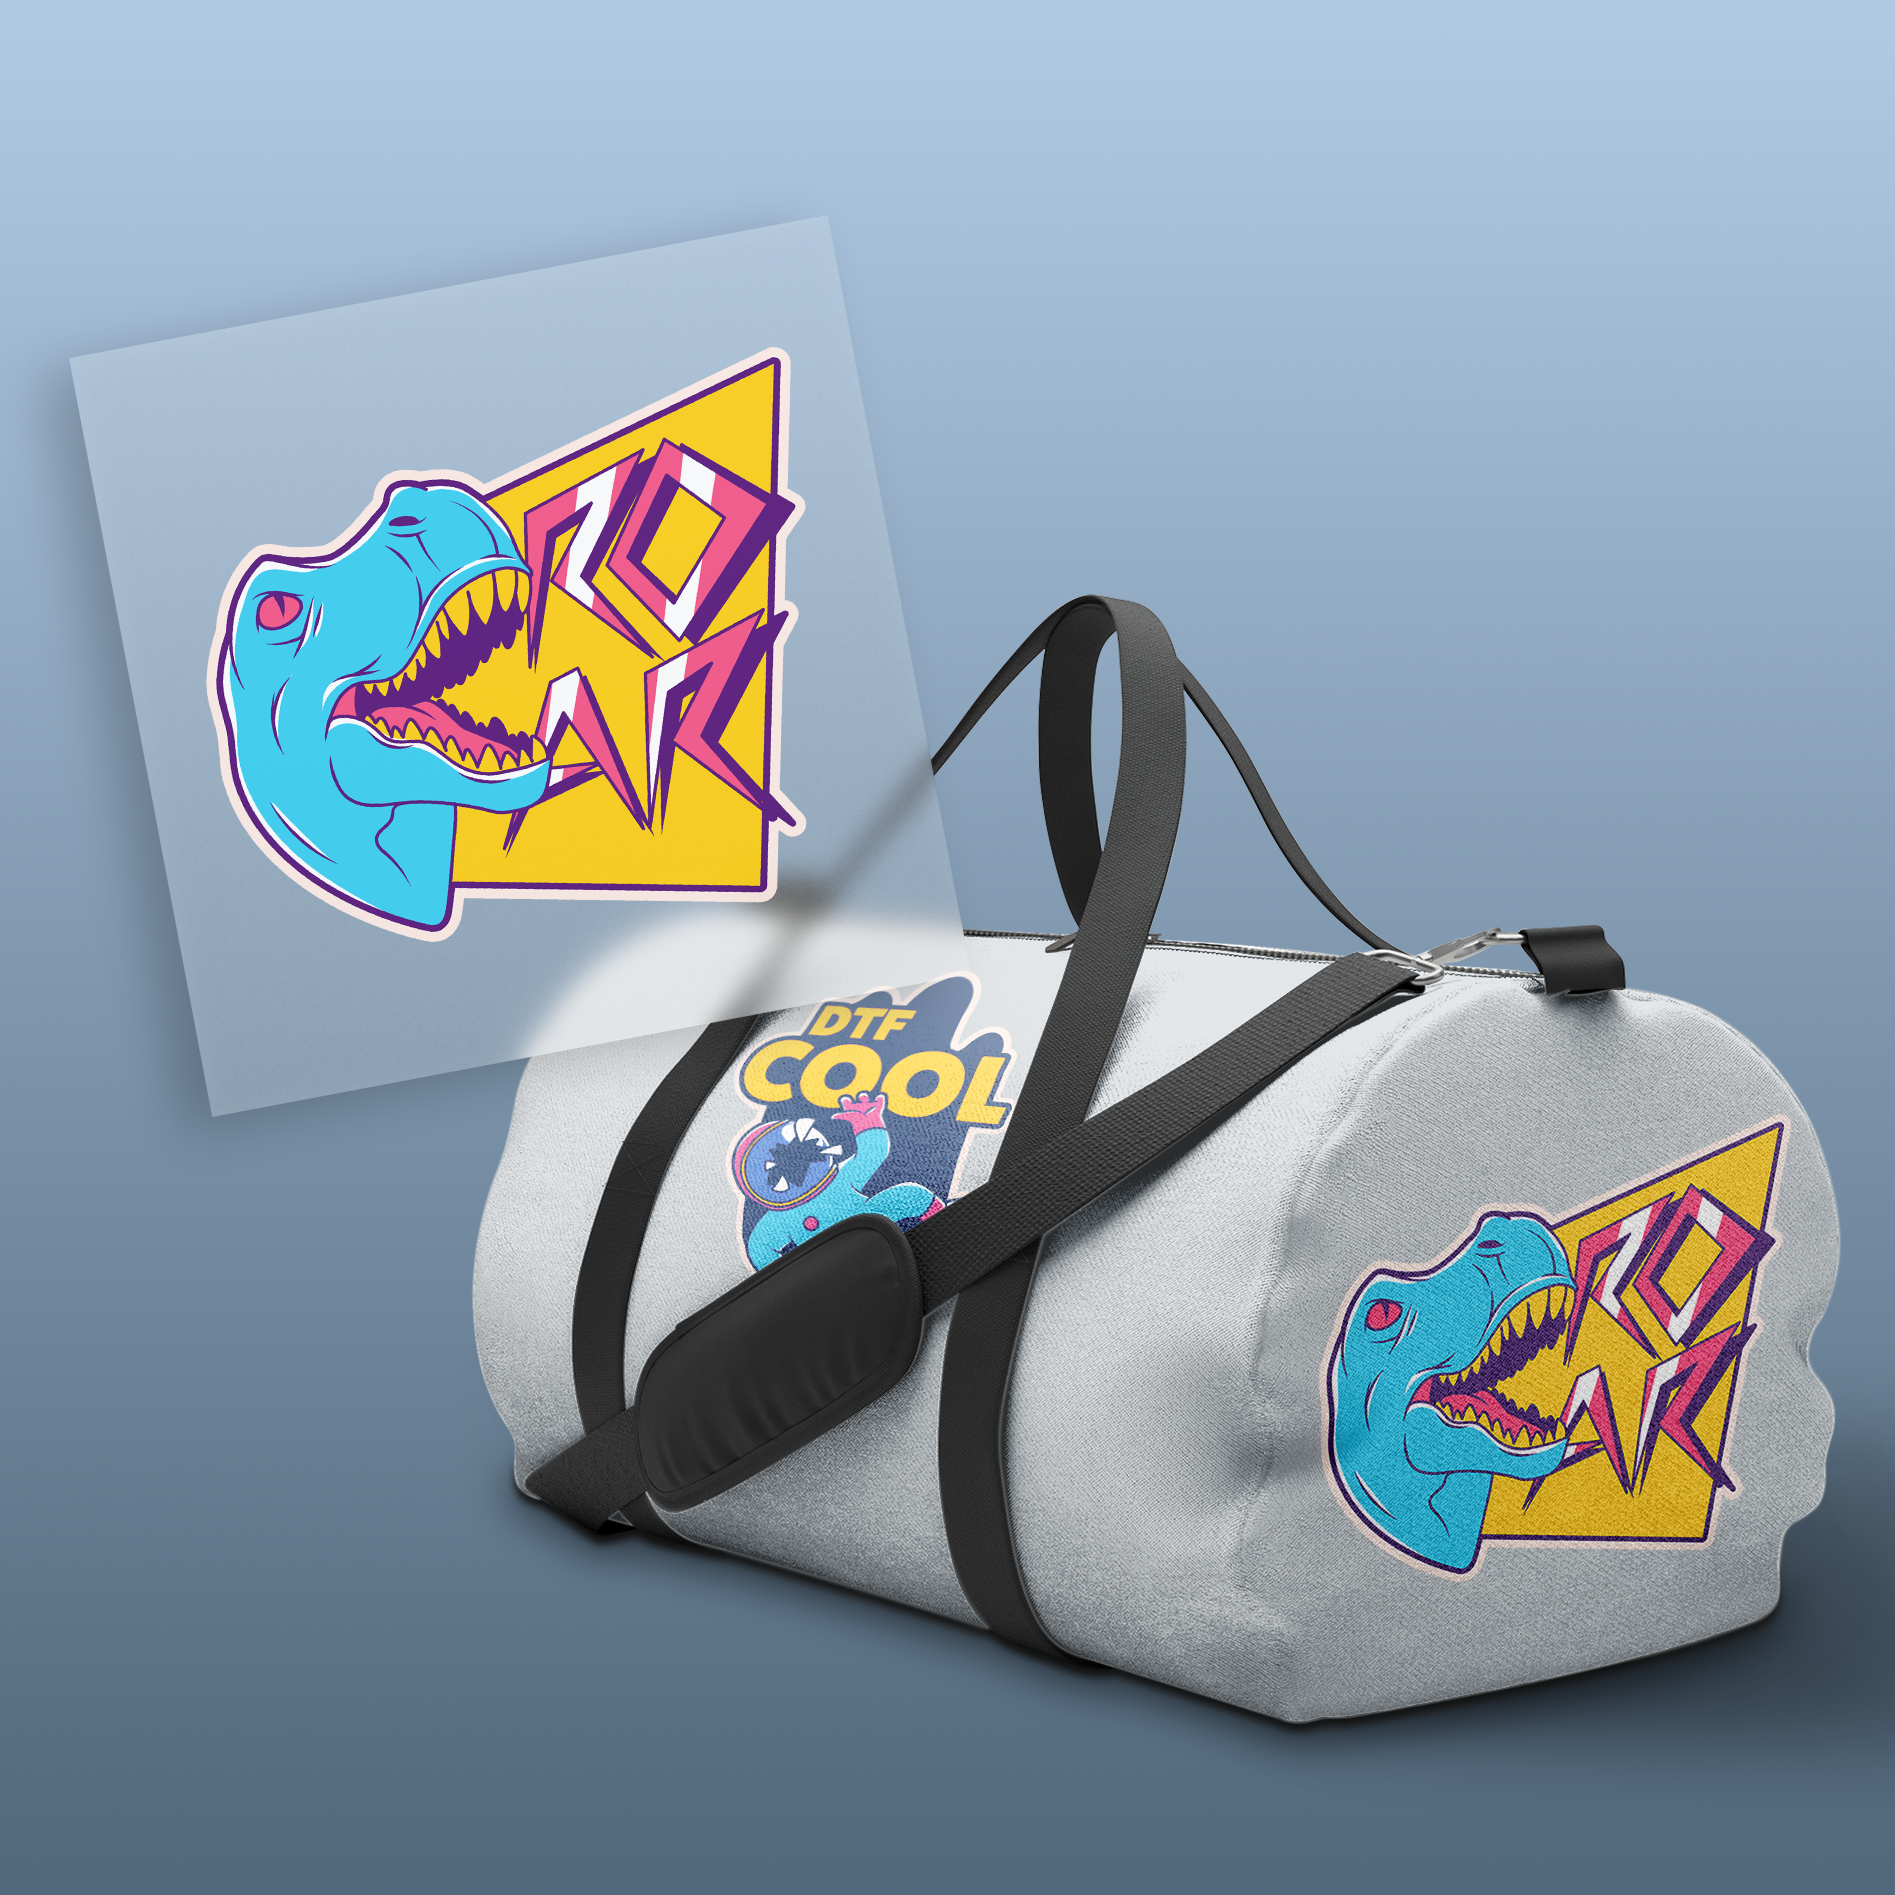
Faux Leather Patches
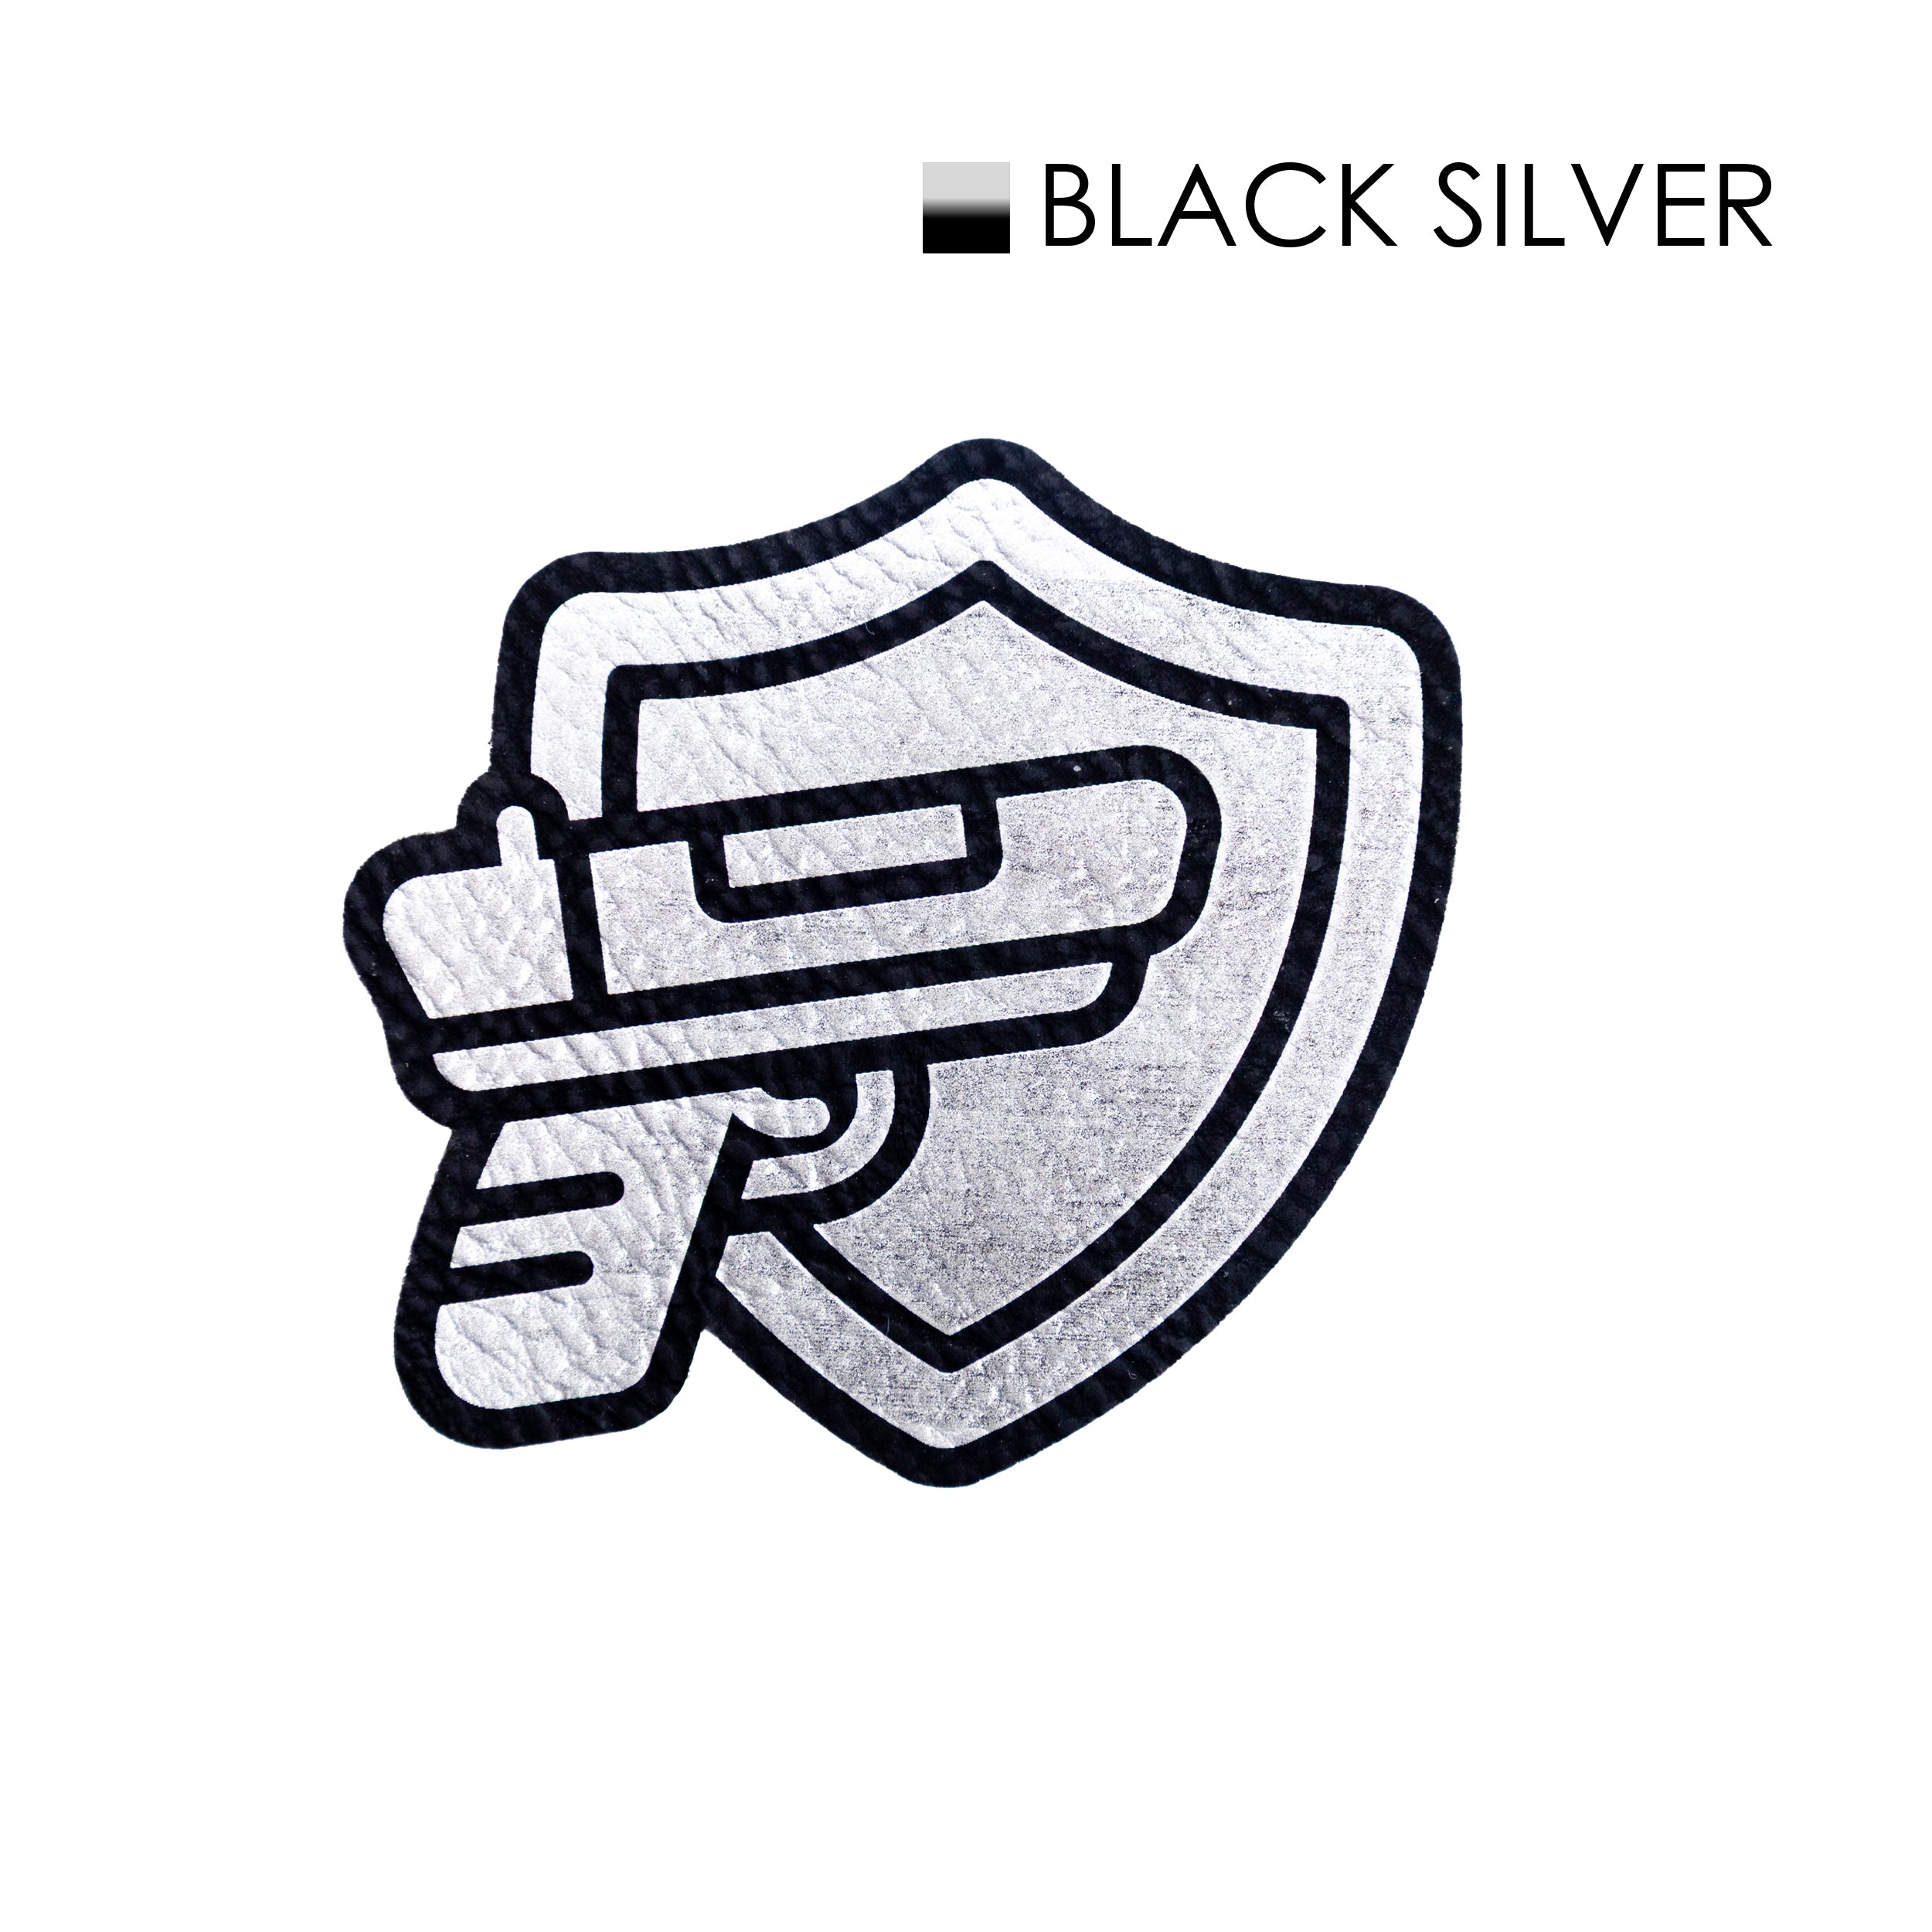
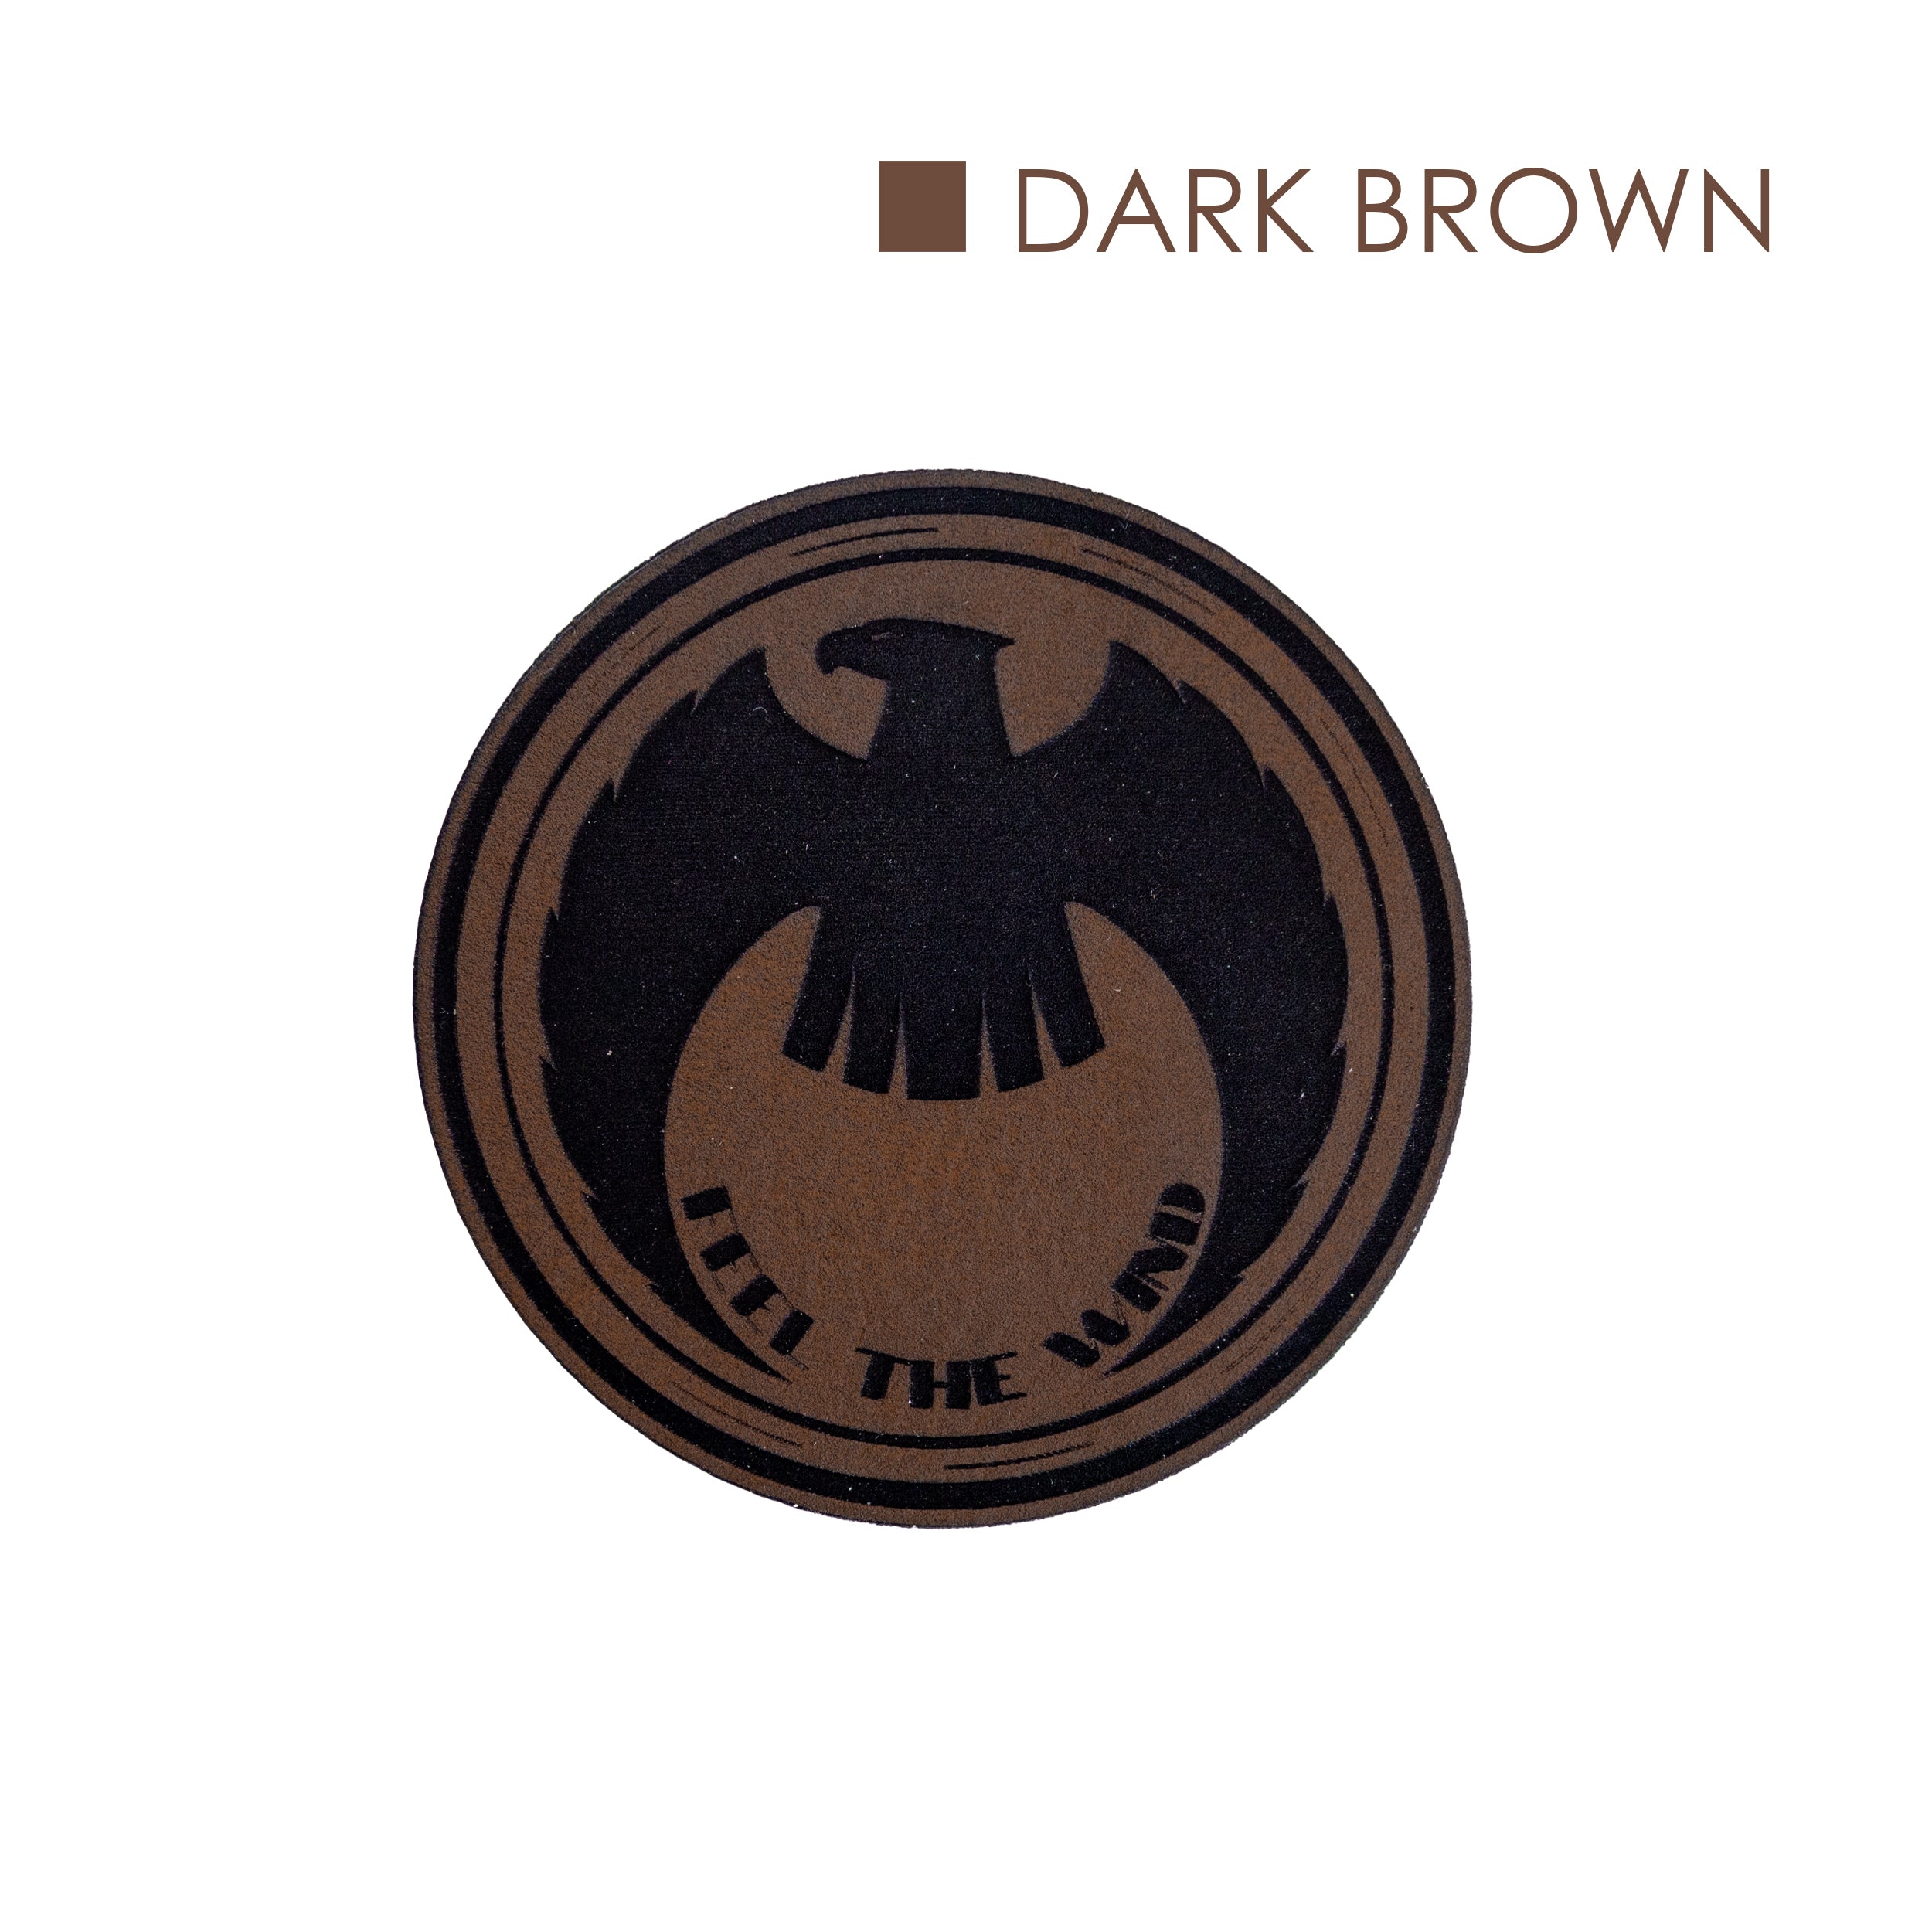
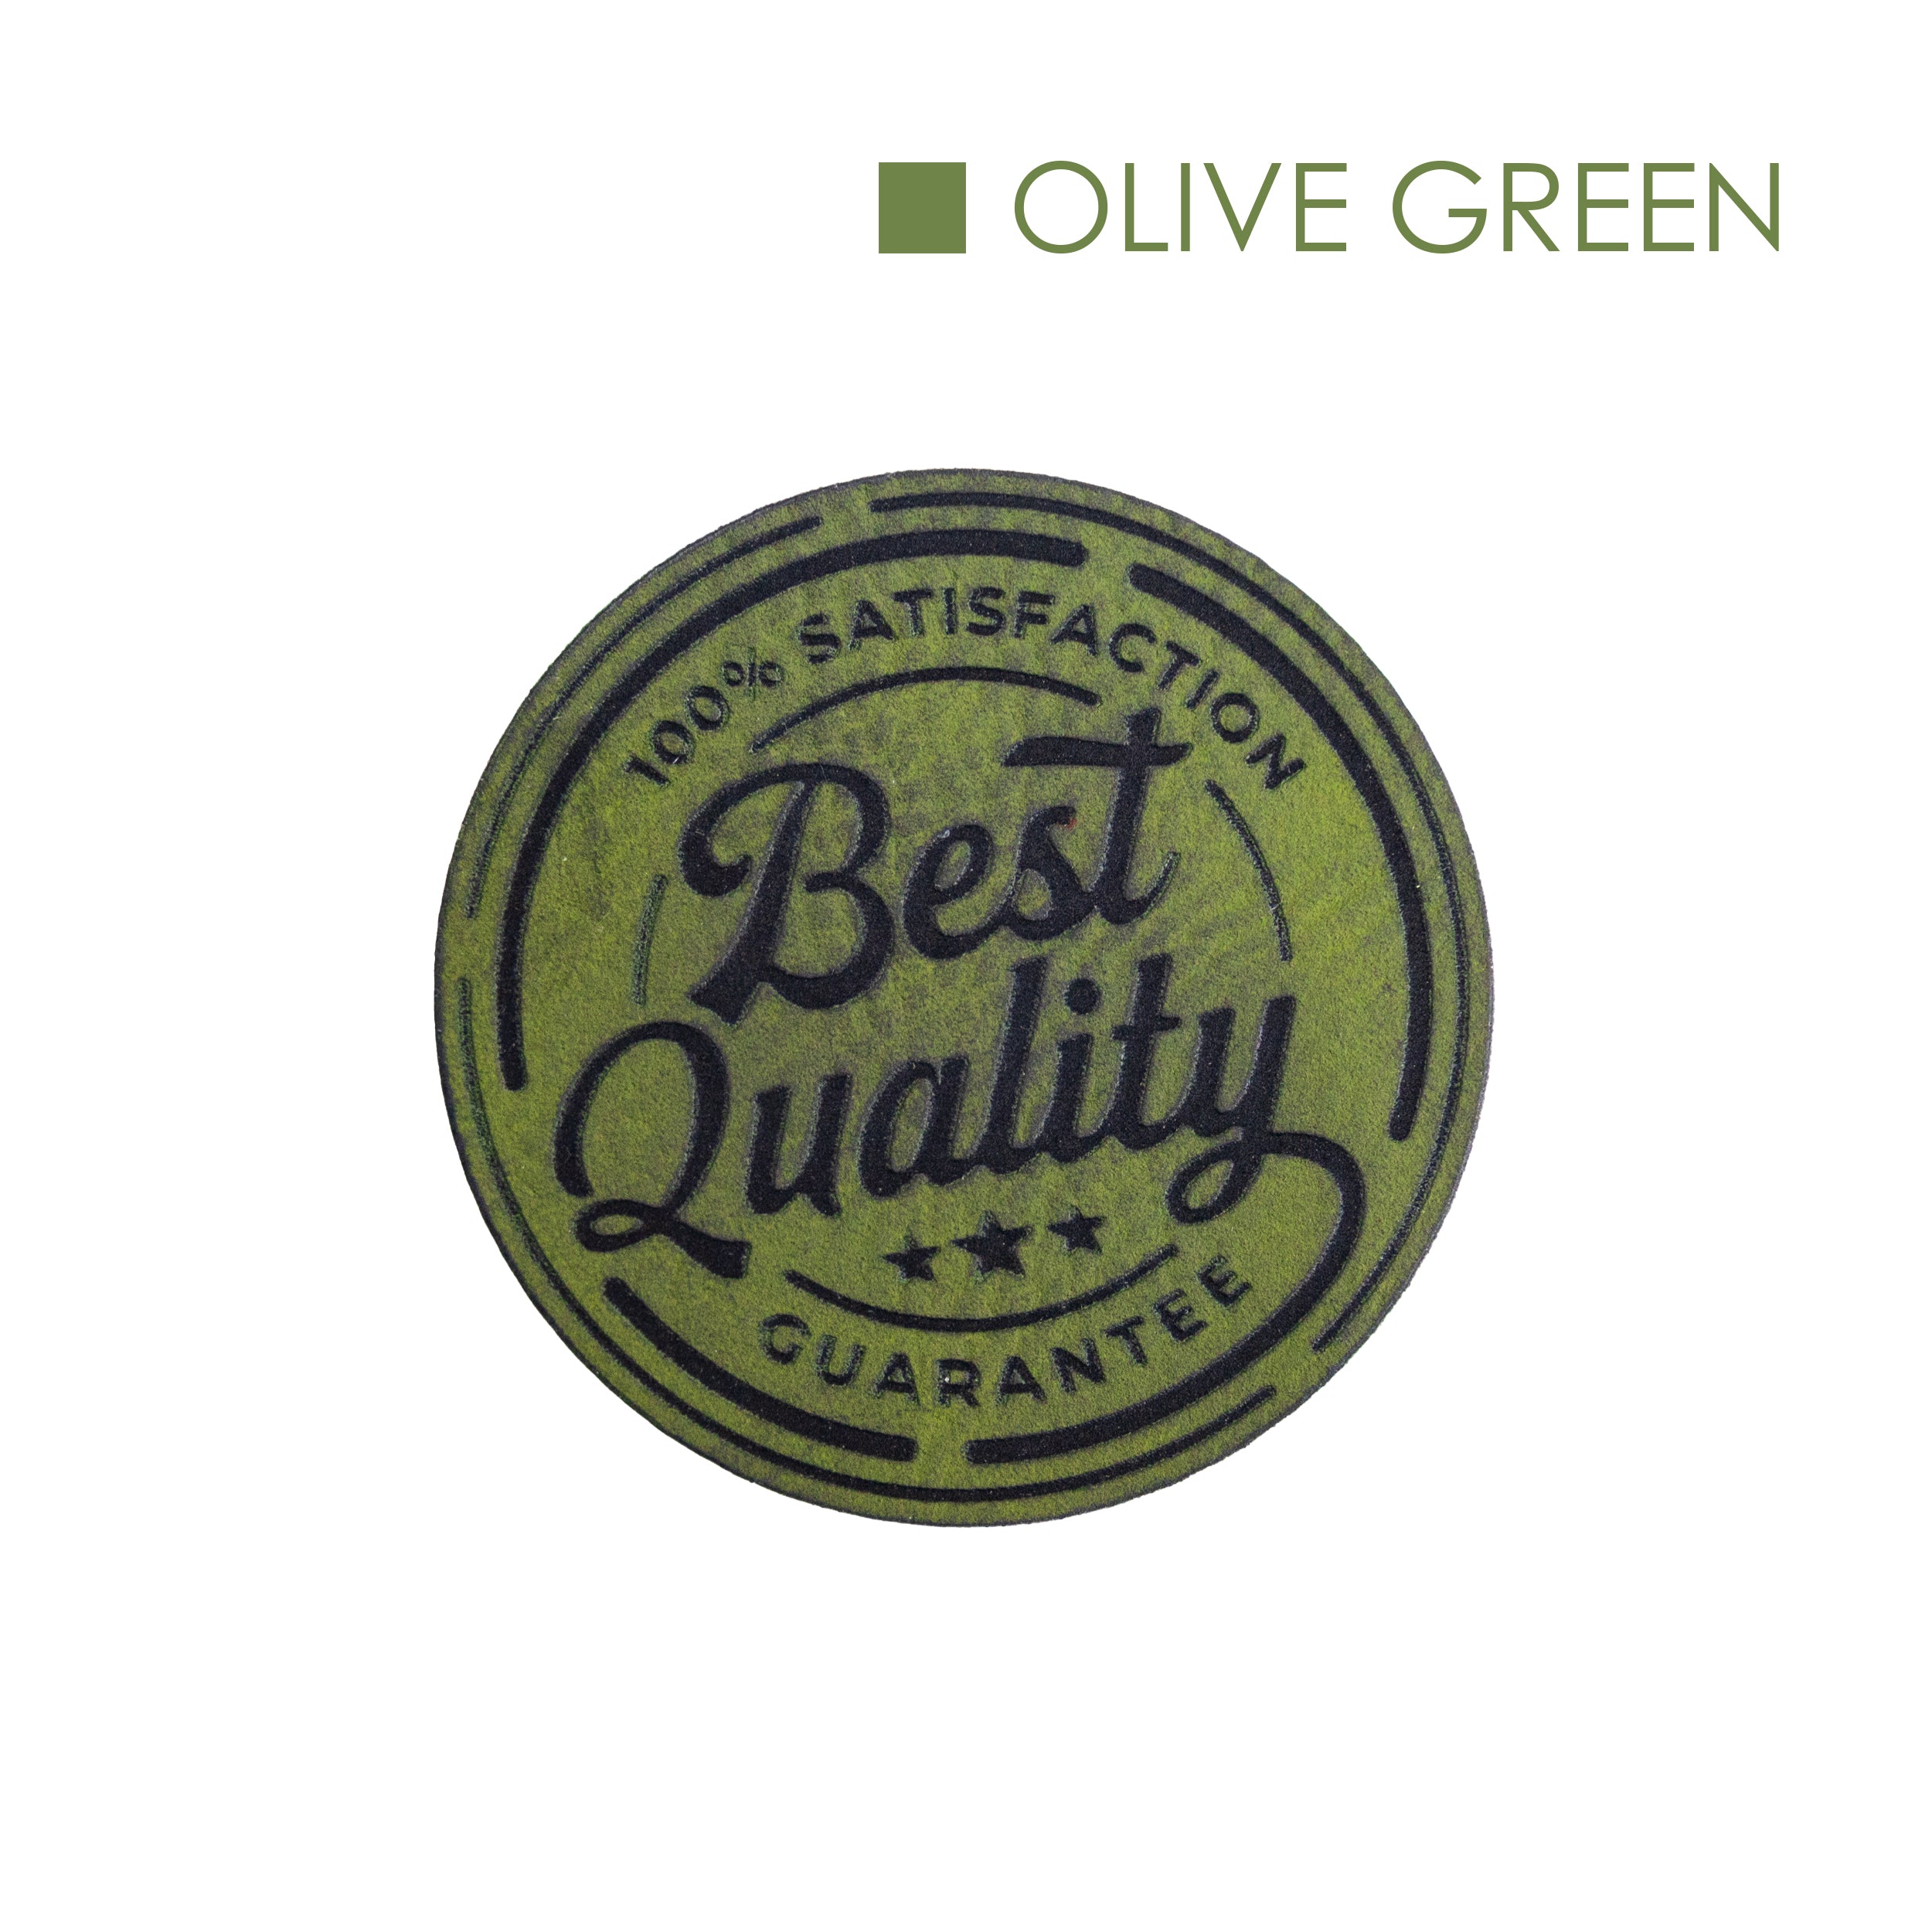
- 6 Color options
- Ready in 3-5 business days
- 50+ Wash Tested
Couldn't load pickup availability
- File format accepted: AI, .PDF, .PNG, .SVG, JPG, JPEG.
- We will get the artwork digitzed and will send you a digitized proof via email within 24 hrs once the order is placed.
- An order cannot be cancelled once the digitized proof has been sent.
- Minimum order quantity is 12 pieces.
- Once the digitized proof is approved, patches will be shipped or ready for pick up in 2-3 business days.
- In case you need multiple orders shipped together at one shipping charge. Please place them within the same day before they are scheduled for shipment.
- The minimum quantity is 12 pieces.
- We ship for free for orders over $250.
- Your patches come with a adhesive at the back to help you heat press directly on your apparels
- If your artwork doesn't match the size asked to print. We will only go by the width of the artwork. No refunds will be offered for smaller prints. Extra charges applicable for bigger sizes than paid for.
- Exact color matching is not provided.
- In case you need multiple orders shipped together at one shipping charge. Please place them within the same day.
- Please read the artwork instructions properly before uploading.
- Click on the “Drag and Drop your Files” button to upload your design.
- Choose the size you want your artwork or proceed with the detected size.
- Select the quantity you need.
- Select add to cart to browse more and add more products/designs or select “Buy with Shop Pay” to place the order.
How to Press Faux Leather Patches
Step 1 - Secure the Patch
Use Thermal Tape (heat-resistant tape) to secure the patch in its desired position on the garment. This step is crucial as it prevents the patch from moving during the pressing process.
Step 2 - Position the Garment
Place the garment onto the heat press with the side to be patched facing downwards. This
positioning ensures that the patch, now on the bottom, directly contacts the lower platen of the heat press.
Step 3 - Protection Layer
Lay a Teflon sheet or parchment paper over the garment. This layer protects the garment from direct contact with the heat source, preventing potential damage.
Step 4 - Set the heat press
Change the settings to 320°F and apply 70-80 PSI or hard pressure. These conditions are optimal for melting the glue without damaging the garment or patch.
Step 5 - Pressing Time
Press the garment for 20 seconds. This duration is sufficient for the low-melt glue on the back of the patch to melt and adhere to the fabric.
Step 6 - Let it cool
After pressing, remove the garment from the heat press and let it cool for at least 30 seconds. Cooling allows the melted glue to solidify and create a strong bond with the fabric.
Step 7 - Remove Thermal Tape
Once the garment has cooled, carefully remove the Thermal Tape. The patch should now be
securely attached to the garment.
About Faux Leather Patches
What are faux leather patches used for?
Faux leather patches are perfect for repairing damaged clothing, mending furniture, decorating backpacks, or adding a stylish touch to DIY projects like hats or jackets.
Will the patch match my item?
Our Faux Leather Patches come in a variety of colors and textures to blend seamlessly with most materials. If in doubt, order a sample first to ensure the perfect match.
Are these patches adhesive-backed?
Yes. Our patches come with our very own adhesive backing which can be applied using a heat press or iron for application.
Can these patches be cut into custom shapes or sizes?
Absolutely! Use sharp scissors or a craft knife to cut the patch into your desired shape or size.
What surfaces can faux leather patches adhere to?
These patches are ideal for use on fabric, leather, vinyl, and other smooth surfaces. For uneven or textured surfaces, stitching or glue may provide better results.
Can I wash items with faux leather patches?
Yes, items with patches can generally be washed. However, use a cold, gentle washing cycle and avoid harsh detergents or bleach. Avoid tumble drying to ensure the patch stays intact.
Can these patches be cut into custom shapes or sizes?
Absolutely! Use sharp scissors or a craft knife to cut the patch into your desired shape or size.
How do I remove a faux leather patch once it is applied?
Removal depends on the adhesive used. Apply gentle heat with an iron to soften the glue, then peel it off slowly.
Are faux leather patches eco-friendly?
Faux leather is a more sustainable and ethical alternative to real leather, making it an eco-conscious choice for repairs and decorations.
Are faux leather patches safe for sensitive skin?
These patches don’t typically come into direct contact with the skin, but they are made from non-toxic materials. Always check for allergies if using other adhesives or bonding agents.

