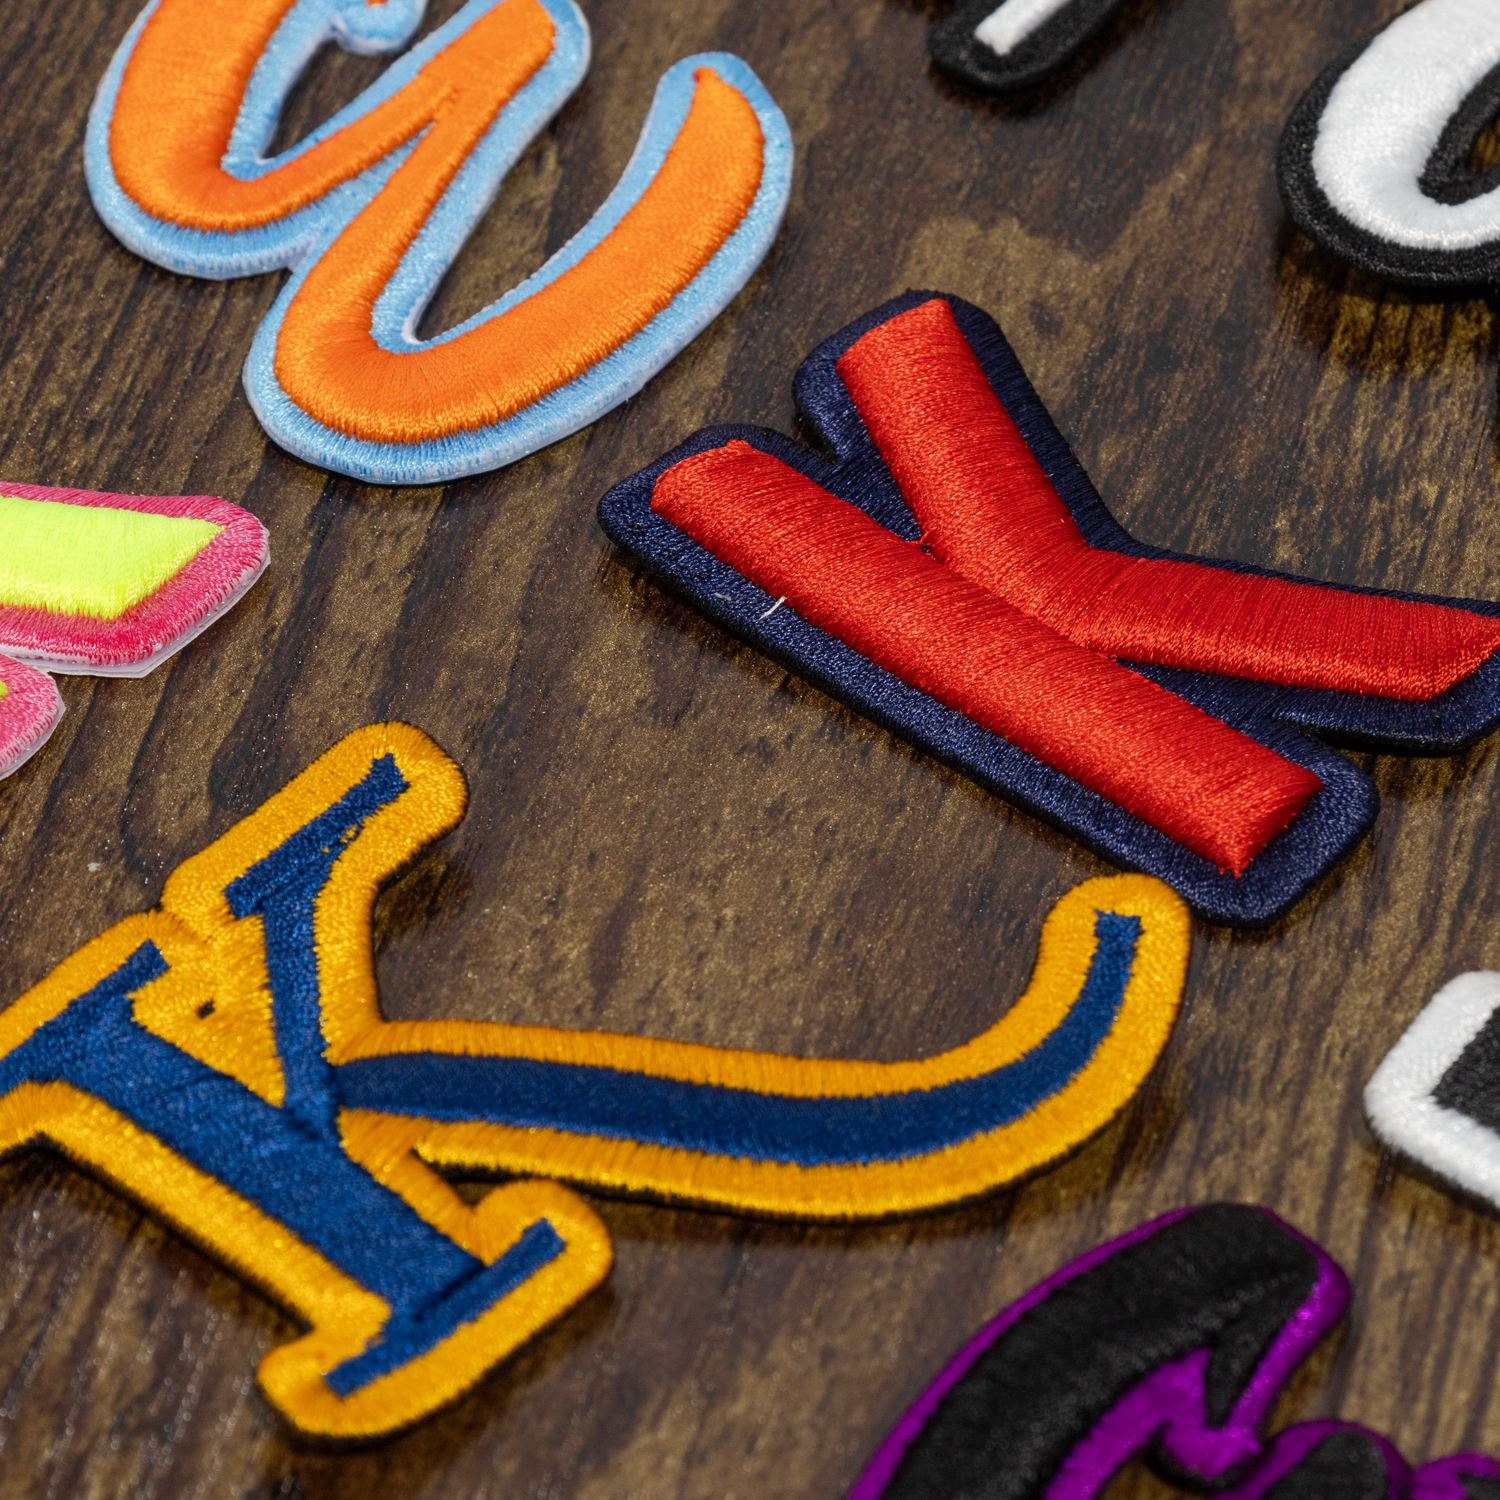
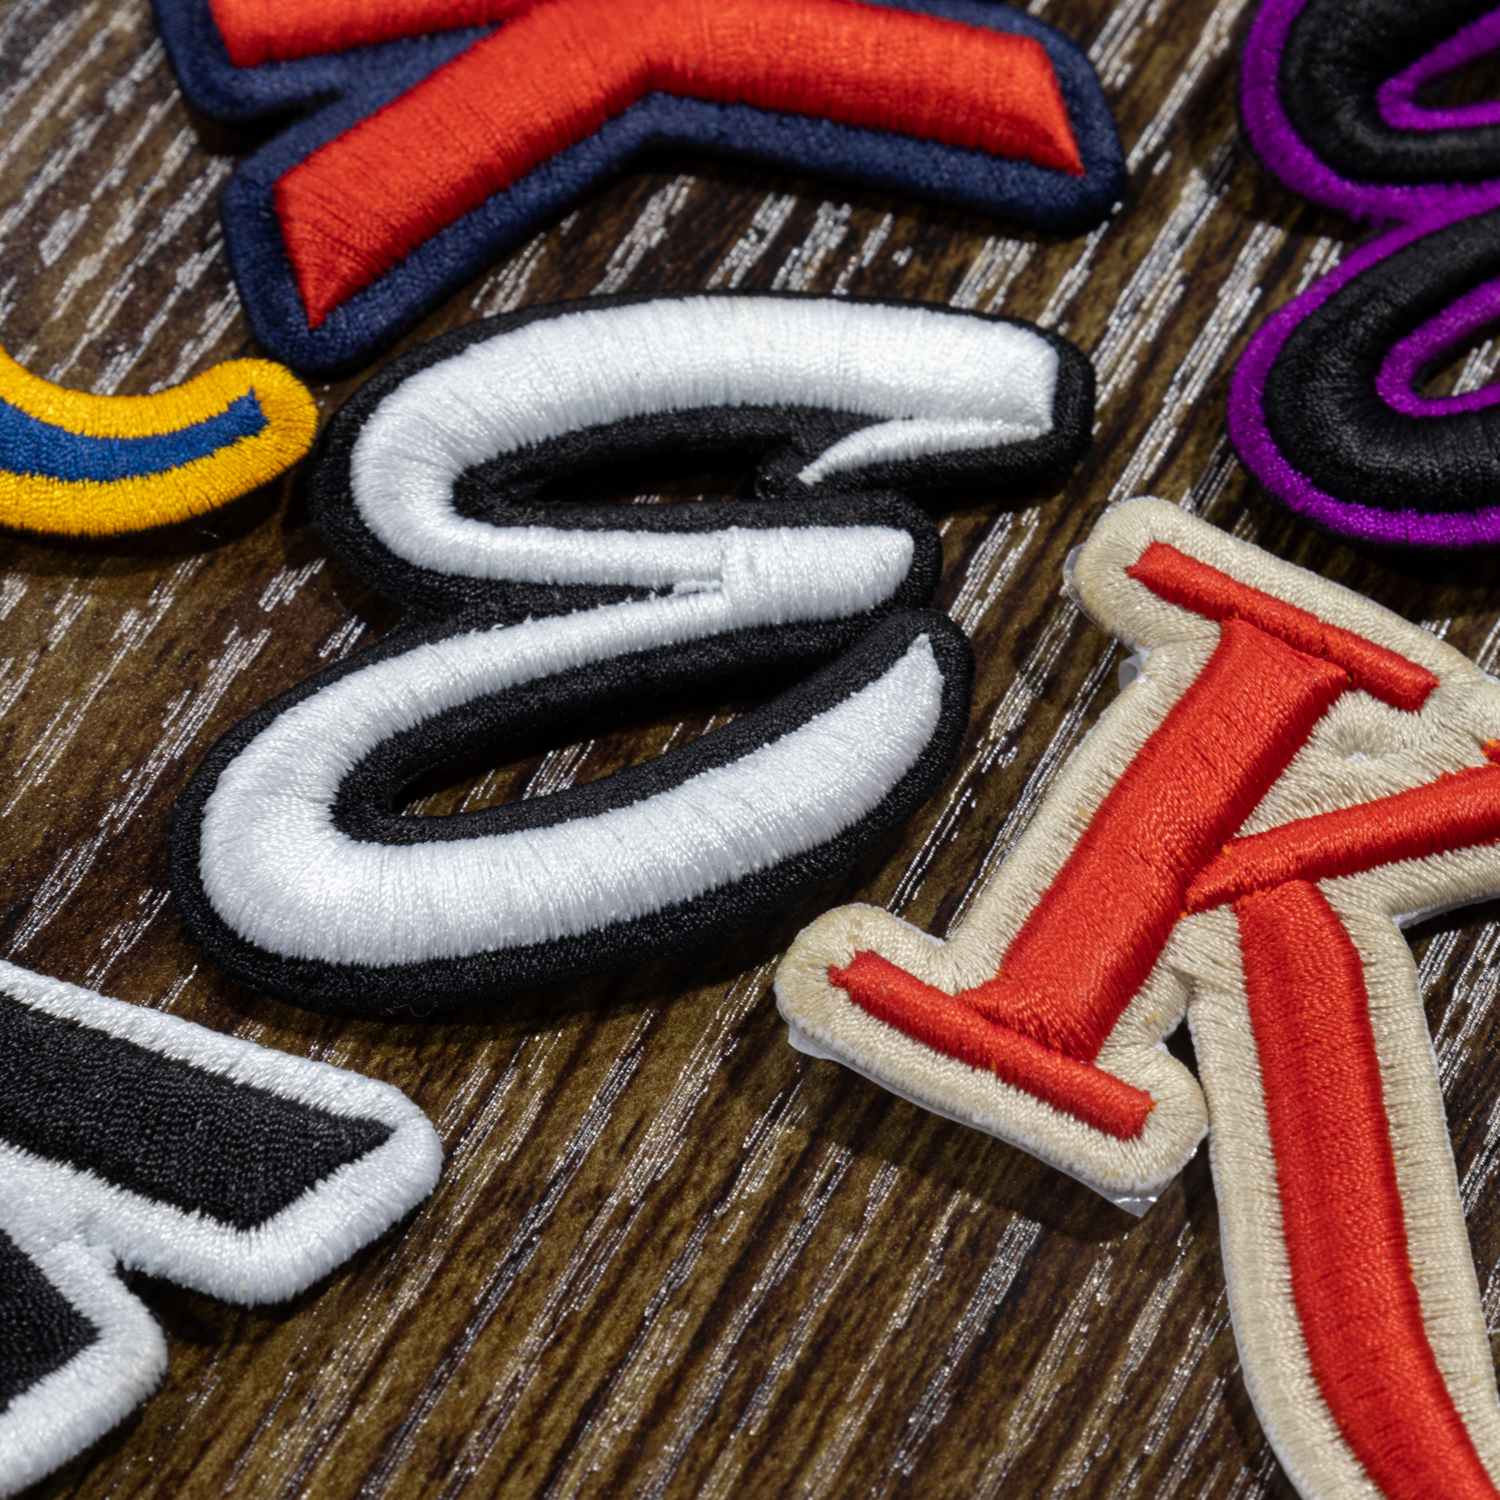
3D Embroidered Patches
- 3D effect in any shape
- Ready in 3-5 business days
- 50+ Wash Tested
Couldn't load pickup availability
- File format accepted: AI, .PDF, .PNG, .SVG, JPG, JPEG.
- We will get the artwork digitzed and will send you a digitized proof via email within 24 hrs once the order is placed.
- An order cannot be cancelled once the digitized proof has been sent.
- Minimum order quantity is 12 pieces.
- Once the digitized proof is approved, patches will be shipped or ready for pick up in 2-3 business days.
- In case you need multiple orders shipped together at one shipping charge. Please place them within the same day before they are scheduled for shipment.
- Our Embroidery charges are based on number of stiches per square inch and number of pieces
- The minimum quantity is 12 pieces.
- We ship for free for orders over $250.
- Your patches come with a adhesive at the back to help you heat press directly on your apparels
- If your artwork doesn't match the size asked to print. We will only go by the width of the artwork. No refunds will be offered for smaller prints. Extra charges applicable for bigger sizes than paid for.
- Exact color matching is not provided.
- In case you need multiple orders shipped together at one shipping charge. Please place them within the same day.
- Please read the artwork instructions properly before uploading.
- Click on the “Drag and Drop your Files” button to upload your design.
- Choose the size you want your artwork or proceed with the detected size.
- Select the quantity you need.
- Select add to cart to browse more and add more products/designs or select “Buy with Shop Pay” to place the order.
How to Press 3D Embroidered Patches
Step 1 - Secure the Patch
Use Thermal Tape (heat-resistant tape) to secure the patch in its desired position on the garment. This step is crucial as it prevents the patch from moving during the pressing process.
Step 2 - Position the Garment
Place the garment onto the heat press with the side to be patched facing downwards. This
positioning ensures that the patch, now on the bottom, directly contacts the lower platen of the heat press.
Step 3 - Protection Layer
Lay a Teflon sheet or parchment paper over the garment. This layer protects the garment from direct contact with the heat source, preventing potential damage.
Step 4 - Set the heat press
Change the settings to 320°F and apply 70-80 PSI or hard pressure. These conditions are optimal for melting the glue without damaging the garment or patch.
Step 5 - Pressing Time
Press the garment for 20 seconds. This duration is sufficient for the low-melt glue on the back of the patch to melt and adhere to the fabric.
Step 6 - Let it cool
After pressing, remove the garment from the heat press and let it cool for at least 30 seconds. Cooling allows the melted glue to solidify and create a strong bond with the fabric.
Step 7 - Remove Thermal Tape
Once the garment has cooled, carefully remove the Thermal Tape. The patch should now be
securely attached to the garment.
About 3D Embroidered Patches
What are 3D embroidery patches?
3D embroidery patches are premium-quality patches featuring raised, dimensional designs created using thicker embroidery thread, giving them a bold and textured appearance.
Can I customize my 3D embroidery patch?
Absolutely! We can customize the design, size, shape, and colors to match your specific needs, whether it’s for personal use or branding purposes.
Are these patches washable?
Yes, 3D embroidery patches are made to be wash-friendly and last upto 50+ washes. However, we recommend washing on a gentle cycle to preserve their vibrant look for longer.
Do they come with adhesive backing?
Yes, most 3D embroidery patches come with a heat-activated adhesive backing that allows for easy application using heat press or iron techniques.
Can I reposition the patch once applied?
Unfortunately, 3D embroidery patches are designed for permanent application. If misaligned, it’s better to carefully remove and reapply a new patch.
Are these patches durable?
Yes, 3D embroidery patches are made with high-quality materials that ensure long-lasting wear and resistance to fading or fraying.
How do I apply these patches to my clothes?
You can use a heat press or an iron to apply these patches easily. Alternatively, for heavy fabrics or long-term durability, sewing is recommended.
Can they be used on any material?
While 3D embroidery patches work well on most fabrics, they adhere best to cotton, polyester, or blends. Avoid using them on very delicate materials like silk or satin.
How long does it take to create custom 3D patches?
Production timelines vary based on complexity, quantity, and design approval, but most custom patches are completed within 3-5 business days.
Are there specific washing and care instructions?
We recommend turning garments inside-out before washing, avoid high heat drying, and lay flat to dry for a longer-lasting patch finish.

