This is a welcome guide for the newbies in the world of DTF transfers, which would help them identify opportunities in the custom apparel industry and explore new techniques in the business. The boom in custom-made t-shirts, bags, hoodies, and even shoes makes it the best time to explore DTF transfers for beginners.
DTF printing basics offer a simple, affordable, and versatile method to transfer high-quality images onto a wide range of fabrics. Unlike traditional screen printing or even DTG (direct-to-garment) printing, DTF heat transfers give you the flexibility to print on both light and dark fabrics, cotton and polyester blends, and more—without the need for pre-treatment.
This blog post will take you on a complete journey through DTF transfers. You can find everything you need here, whether you're curious about what DTF is, what tools you need, or how the process works. Consider this publication your go-to resource on DTF printing basics.
Let's start with the basics: What Are DTF Transfers?
DTF transfers, or Direct to Film transfers, involve printing a design onto a special film using a purpose-built printer, applying adhesive powder, and then transferring the design onto a garment using a heat press. The result produced is hence a long-lasting, vibrant print which typically adheres to various fabrics.
Read More About: DTF transfer design ideas
The cost-effectiveness and the simplicity of the process make DTF transfers for beginners an ideal choice. Unlike other methods used for similar applications, DTF transfers are not limited to a certain fabric and allow you to create professional-looking designs with a very low initial investment.
Here's how it works:
-
The design is created digitally.
-
We print it onto DTF film using special inks.
-
We apply an adhesive powder while the ink is still wet.
-
Heat cures the design.
-
A heat press then transfers the design onto fabric.
With DTF printing basics, there is no need for pre-treatment (as with DTG), and you can even store your printed films for later use. The designs can be individually printed for small batches, too, at a comparatively lower cost. This makes DTF heat transfers an excellent option for small businesses and hobbyists alike.
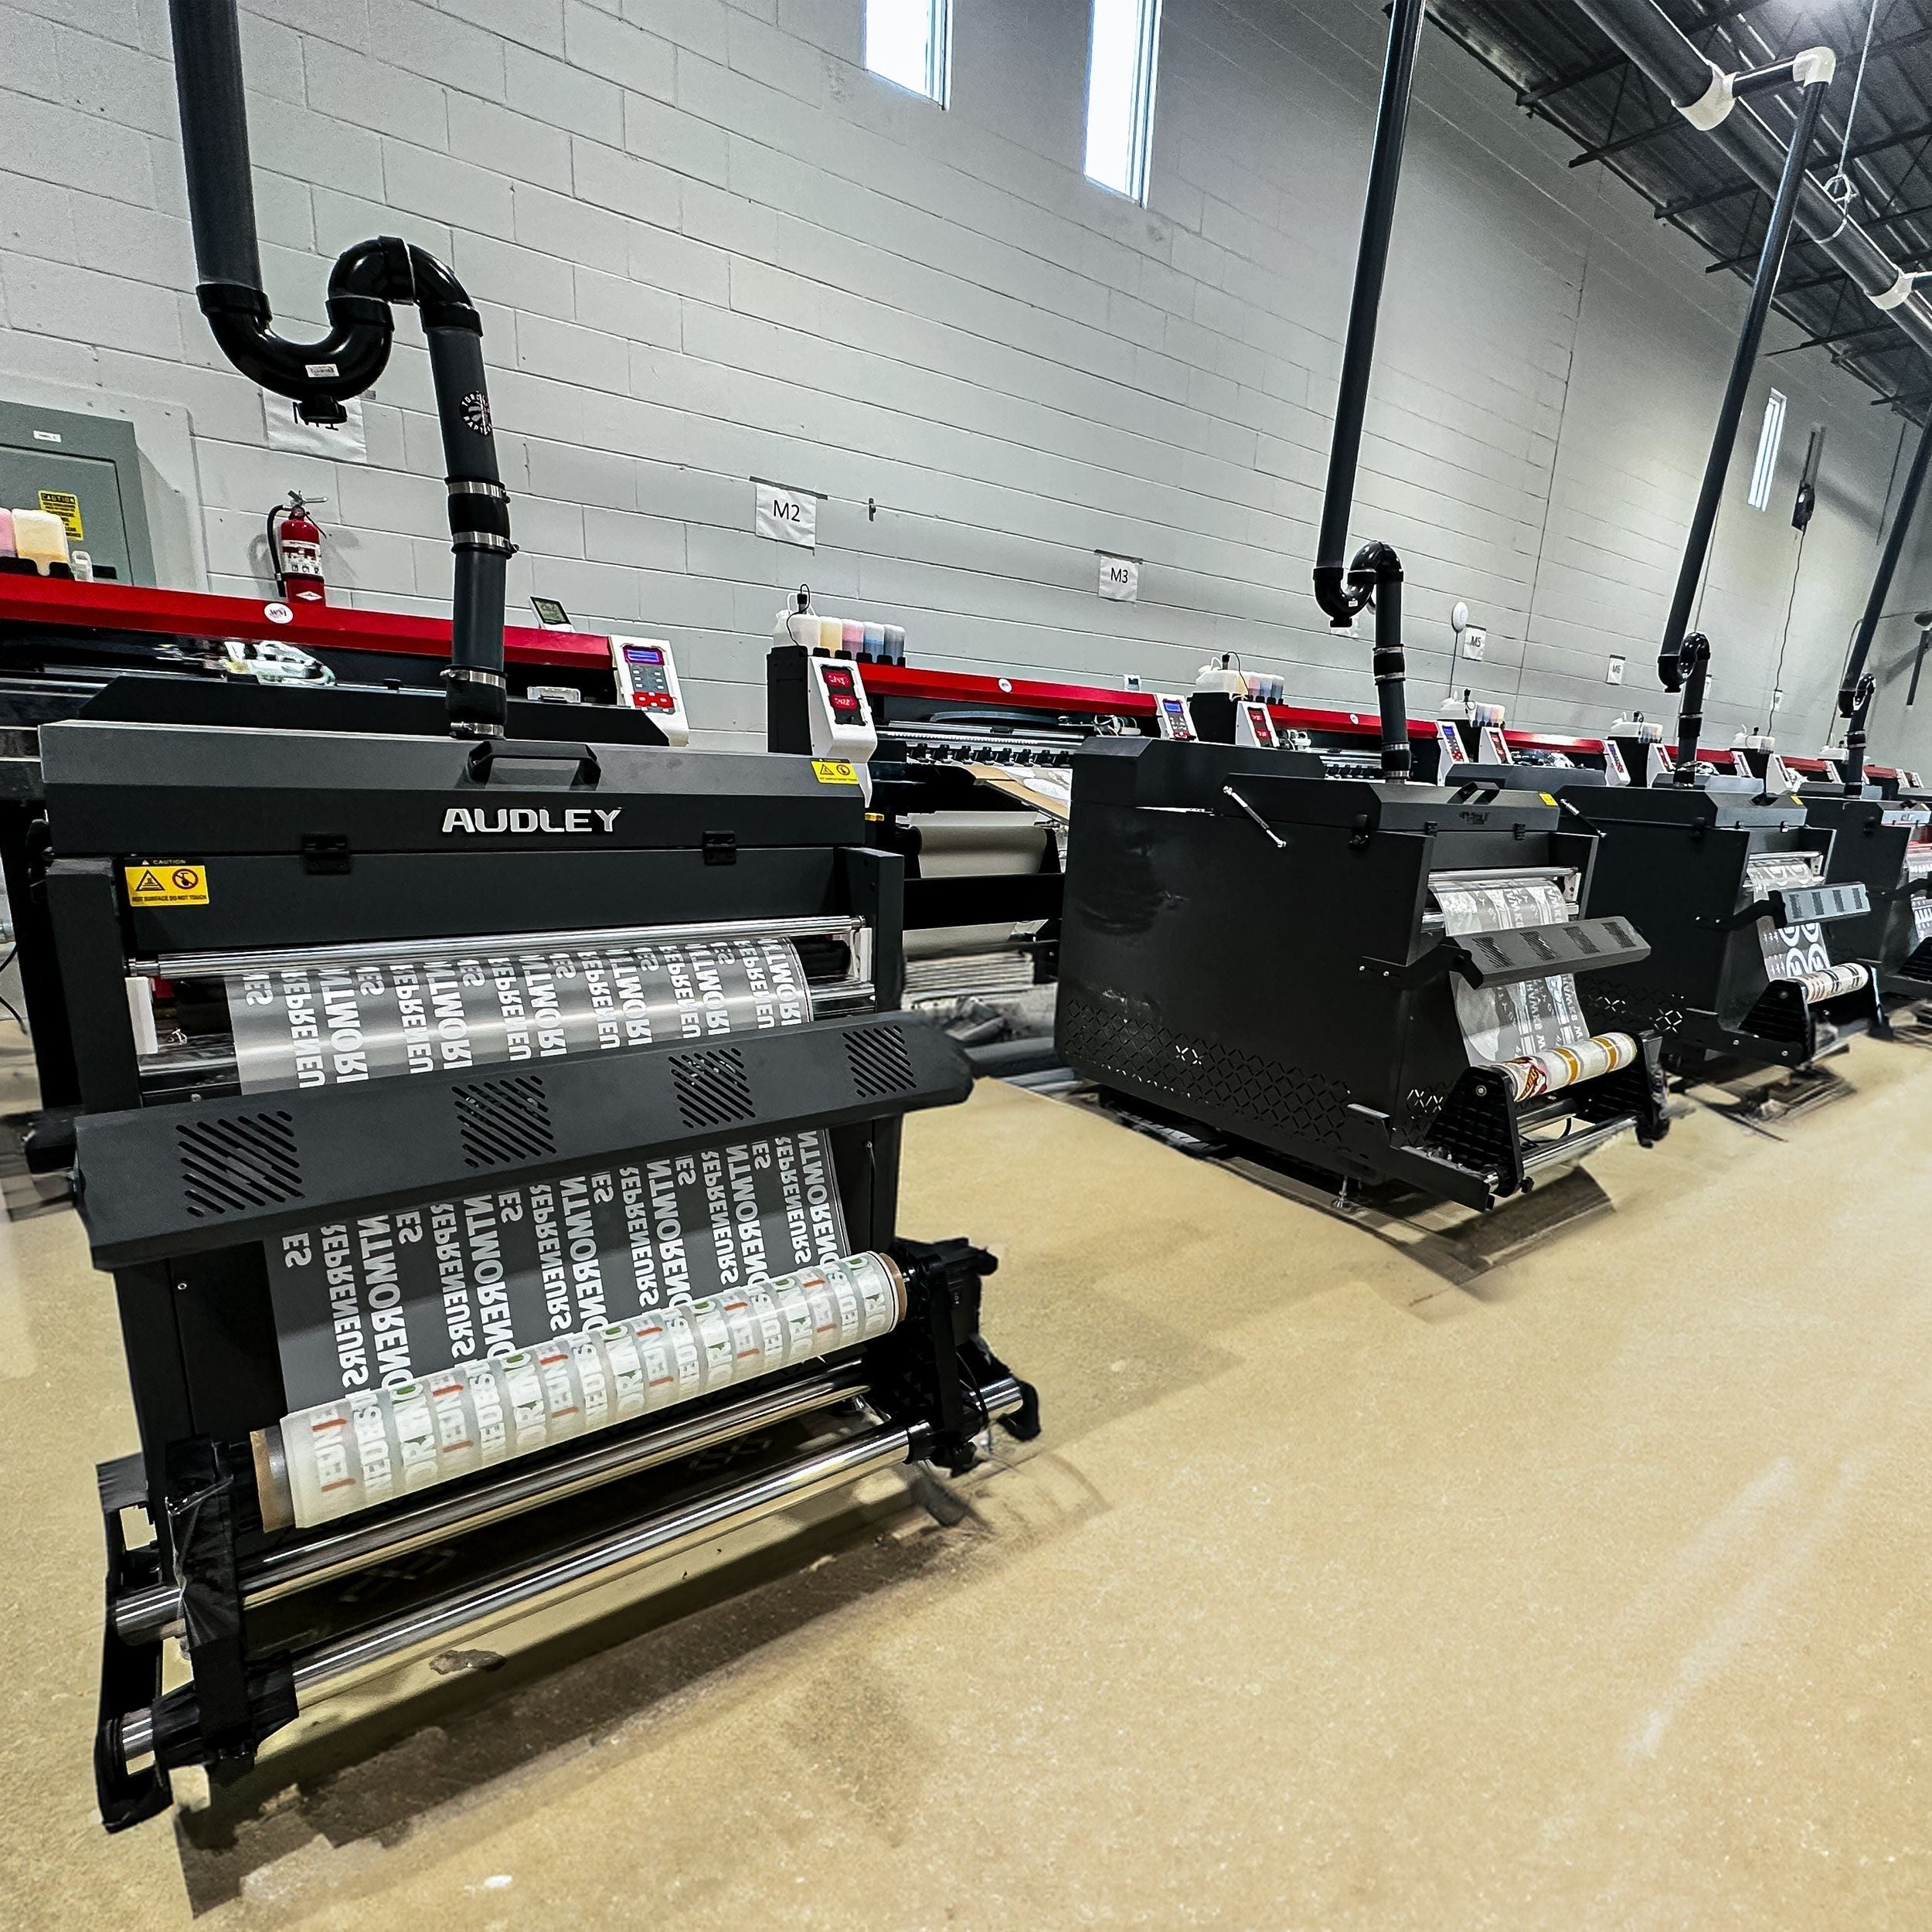
Gather The Essential Equipments for DTF Transfers
To start creating wonderful DTF heat transfers, you’ll need the right equipment. Here are the must-haves:
-
DTF Printer
This specialist printer uses CMYK and white inks specifically designed for DTF transfers. If you are doing DTF transfers as a hobby or are just starting out, that is perfectly fine as well. Some users convert Epson printers for this purpose, but buying a dedicated DTF printer is more reliable in the long term.
-
DTF Film (PET Film)
You print your design onto this transparent film. High-quality DTF film ensures better ink adhesion and transfer clarity. PET stands for Polyethylene Terephthalate film, which is typically used for better ink and powder absorption on your design.
-
DTF Ink
DTF ink includes both coloured (CMYK) and white inks. White ink serves as the base for printing on darker garments. The use of Cyan, Magenta, Yellow, and Key (black) allows the user to choose from a wider range of colour shades and print highly vibrant designs.
-
Hot Melt Powder
After printing the design, hot melt powder is sprinkled over the wet ink. The powder acts as an adhesive during the heat pressing process. This feature ensures that the ink is properly absorbed while the transfer takes place from the film to the fabric.
-
Heat Press
A reliable heat press is essential for DTF heat transfers. While some people may use domestic irons for DTF heat transfers, a good heat press is essential to apply the exact pressure at a fixed temperature onto the film.
Read More About: DTF transfer heat press instruction
-
Curing can be done using an oven or a heat gun.
We use it to cure or "bake" the powder onto the printed film before pressing. For consistency, we prefer a curing oven, but smaller setups can use a heat gun.
Optional: Things that can take your DTF Transfers to the next level
-
We recommend using software for colour management, as well as RIP printing.
-
Teflon or parchment sheets for pressing
-
Cutting tools or trimmers for film
Basic Workflow: Follow the process to get your First Hand-made DTF Transfers Batch
Understanding the workflow is crucial for mastering DTF printing basics. Let’s break it down step-by-step:
-
Designing
Use design software like Adobe Illustrator, Photoshop, CorelDRAW, or even free tools like Canva. All you have to do is make sure to:
-
Work in high resolution for the designs to look seamless on the materials’ surface.
-
Include a white underbase in your design for dark fabrics, which would help the design pop out better and provide a vibrant effect.
-
Mirror the image before printing.
Designs for DTF transfers are flexible, allowing intricate graphics and vibrant colours. It even allows printing detailed designs on dark-coloured fabrics, which is not possible with other similar methods.
-
Printing
First, load your DTF film into the printer. Load the image, which is first printed in colour then layered with white ink. This white ink ensures opacity and colour accuracy for dark or coloured fabrics.
After printing, apply the hot melting powder to ensure an accurate colour for dark or coloured prints. Shake off excess powder to avoid uneven textures.
-
Curing
Cure the printed and powdered film in a curing oven at around 250°F (120°C) for 2-3 minutes, or use a heat gun for smaller prints. The powder should melt into a shiny, adhesive layer. This layer would also serve as a protective barrier and help enhance the adhesion of the print to the fabric.
-
Applying the Transfer
Place the cured film onto your garment (design side down). Set your heat press to 320°F (160°C) for 15–20 seconds at medium pressure.
Let the film cool before peeling. Depending on your film type, you might need 15–20 seconds to peel. For added durability, re-press with a Teflon sheet for 5-10 seconds.
Some Extra Tips for a Long term Success For Beginners
Here are practical tips to help DTF transfers for beginners succeed:
-
Start Small
It might be beneficial to start with a more affordable setup initially. You might want to explore outsourcing certain aspects of the process, such as printing, so you can concentrate on heat pressing and design. Pre-printed films are also available on the market; they can be customised and used directly for applications.
-
Practice
It would be good to start with a more affordable setup initially. Keep notes on what works best with your specific equipment.
-
Stay Clean and organised
Contamination from dust or moisture can ruin your DTF heat transfers. Store supplies properly and clean your work area regularly. Make sure the process is done in a clean space to ensure the longevity of the prints.
-
Learn from mistakes
Every failed print teaches something valuable. Please assess any areas where issues may have occurred and make the necessary adjustments to your process.
-
Keep the equipments maintained
Clean printer heads, calibrate your heat press, and replace worn parts. Preventive maintenance saves time and money in the long run.
Also, Join Facebook groups, subreddits, and forums on DTF transfers. You'll find answers, inspiration, and support regarding your equipment and even the latest trends in the industry.
DTF Transfers are easy if done in the right way
Mastering DTF transfers for beginners may seem like a daunting task, but it’s completely achievable with the right guidance and practice. The process is flexible, scalable, and rewarding—making it an ideal choice for entrepreneurs, hobbyists, and established print shops alike.
You don’t need a massive investment to start DTF. All it takes is curiosity, creativity, and a willingness to learn. With a bit of time and experimentation, you’ll soon be able to create beautiful, durable, and professional-grade DTF heat transfers that rival those of larger businesses.
If you are interested in learning, We at WeMust would be delighted to help you. Here at WeMust, we have something for everyone, from beginners in the DTF industry to experts seeking the latest trends in the sector.
So don’t wait! Dive into the world of DTF transfers, and let your creativity lead the way!
Frequently Asked Questions (FAQ)
What fabrics can I use with DTF transfers?
DTF heat transfers work on cotton, polyester, blends, nylon, canvas, and more. The adhesive bonds well to a wide range of materials.
Is DTF better than DTG?
It depends on your needs. DTF transfers require no pre-treatment, work on more fabrics, and are easier to scale. DTG might offer slightly finer detail but is more limited in fabric compatibility.
Can I store DTF prints?
Yes! One of the benefits of DTF printing basics is that you can print in bulk and store the film until you're ready to press.
What is the best temperature and time for pressing DTF?
Typically, press DTF heat transfers at 320°F for 15-20 seconds. Always test with your materials and adjust accordingly.
How do I maintain a DTF printer?
Regular maintenance includes nozzle checks, cleaning cycles, and proper ink storage. Avoid allowing lettipress DTF heat transfers to sit for extended periods.
Is DTF beneficial for beginners?
Absolutely! DTF transfers for beginners are easy to learn and forgiving. You can start small and scale up as you gain experience. As you gain confidence, you can experiment with various designs and fabrics, allowing for greater creativity in your projects.
Additionally, the relatively low start-up costs make DTF an accessible option for those new to the printing world. This accessibility encourages newcomers to explore their artistic potential without feeling overwhelmed. As you improve, you can buy better tools and methods, which will boost your skills and the quality of your work.